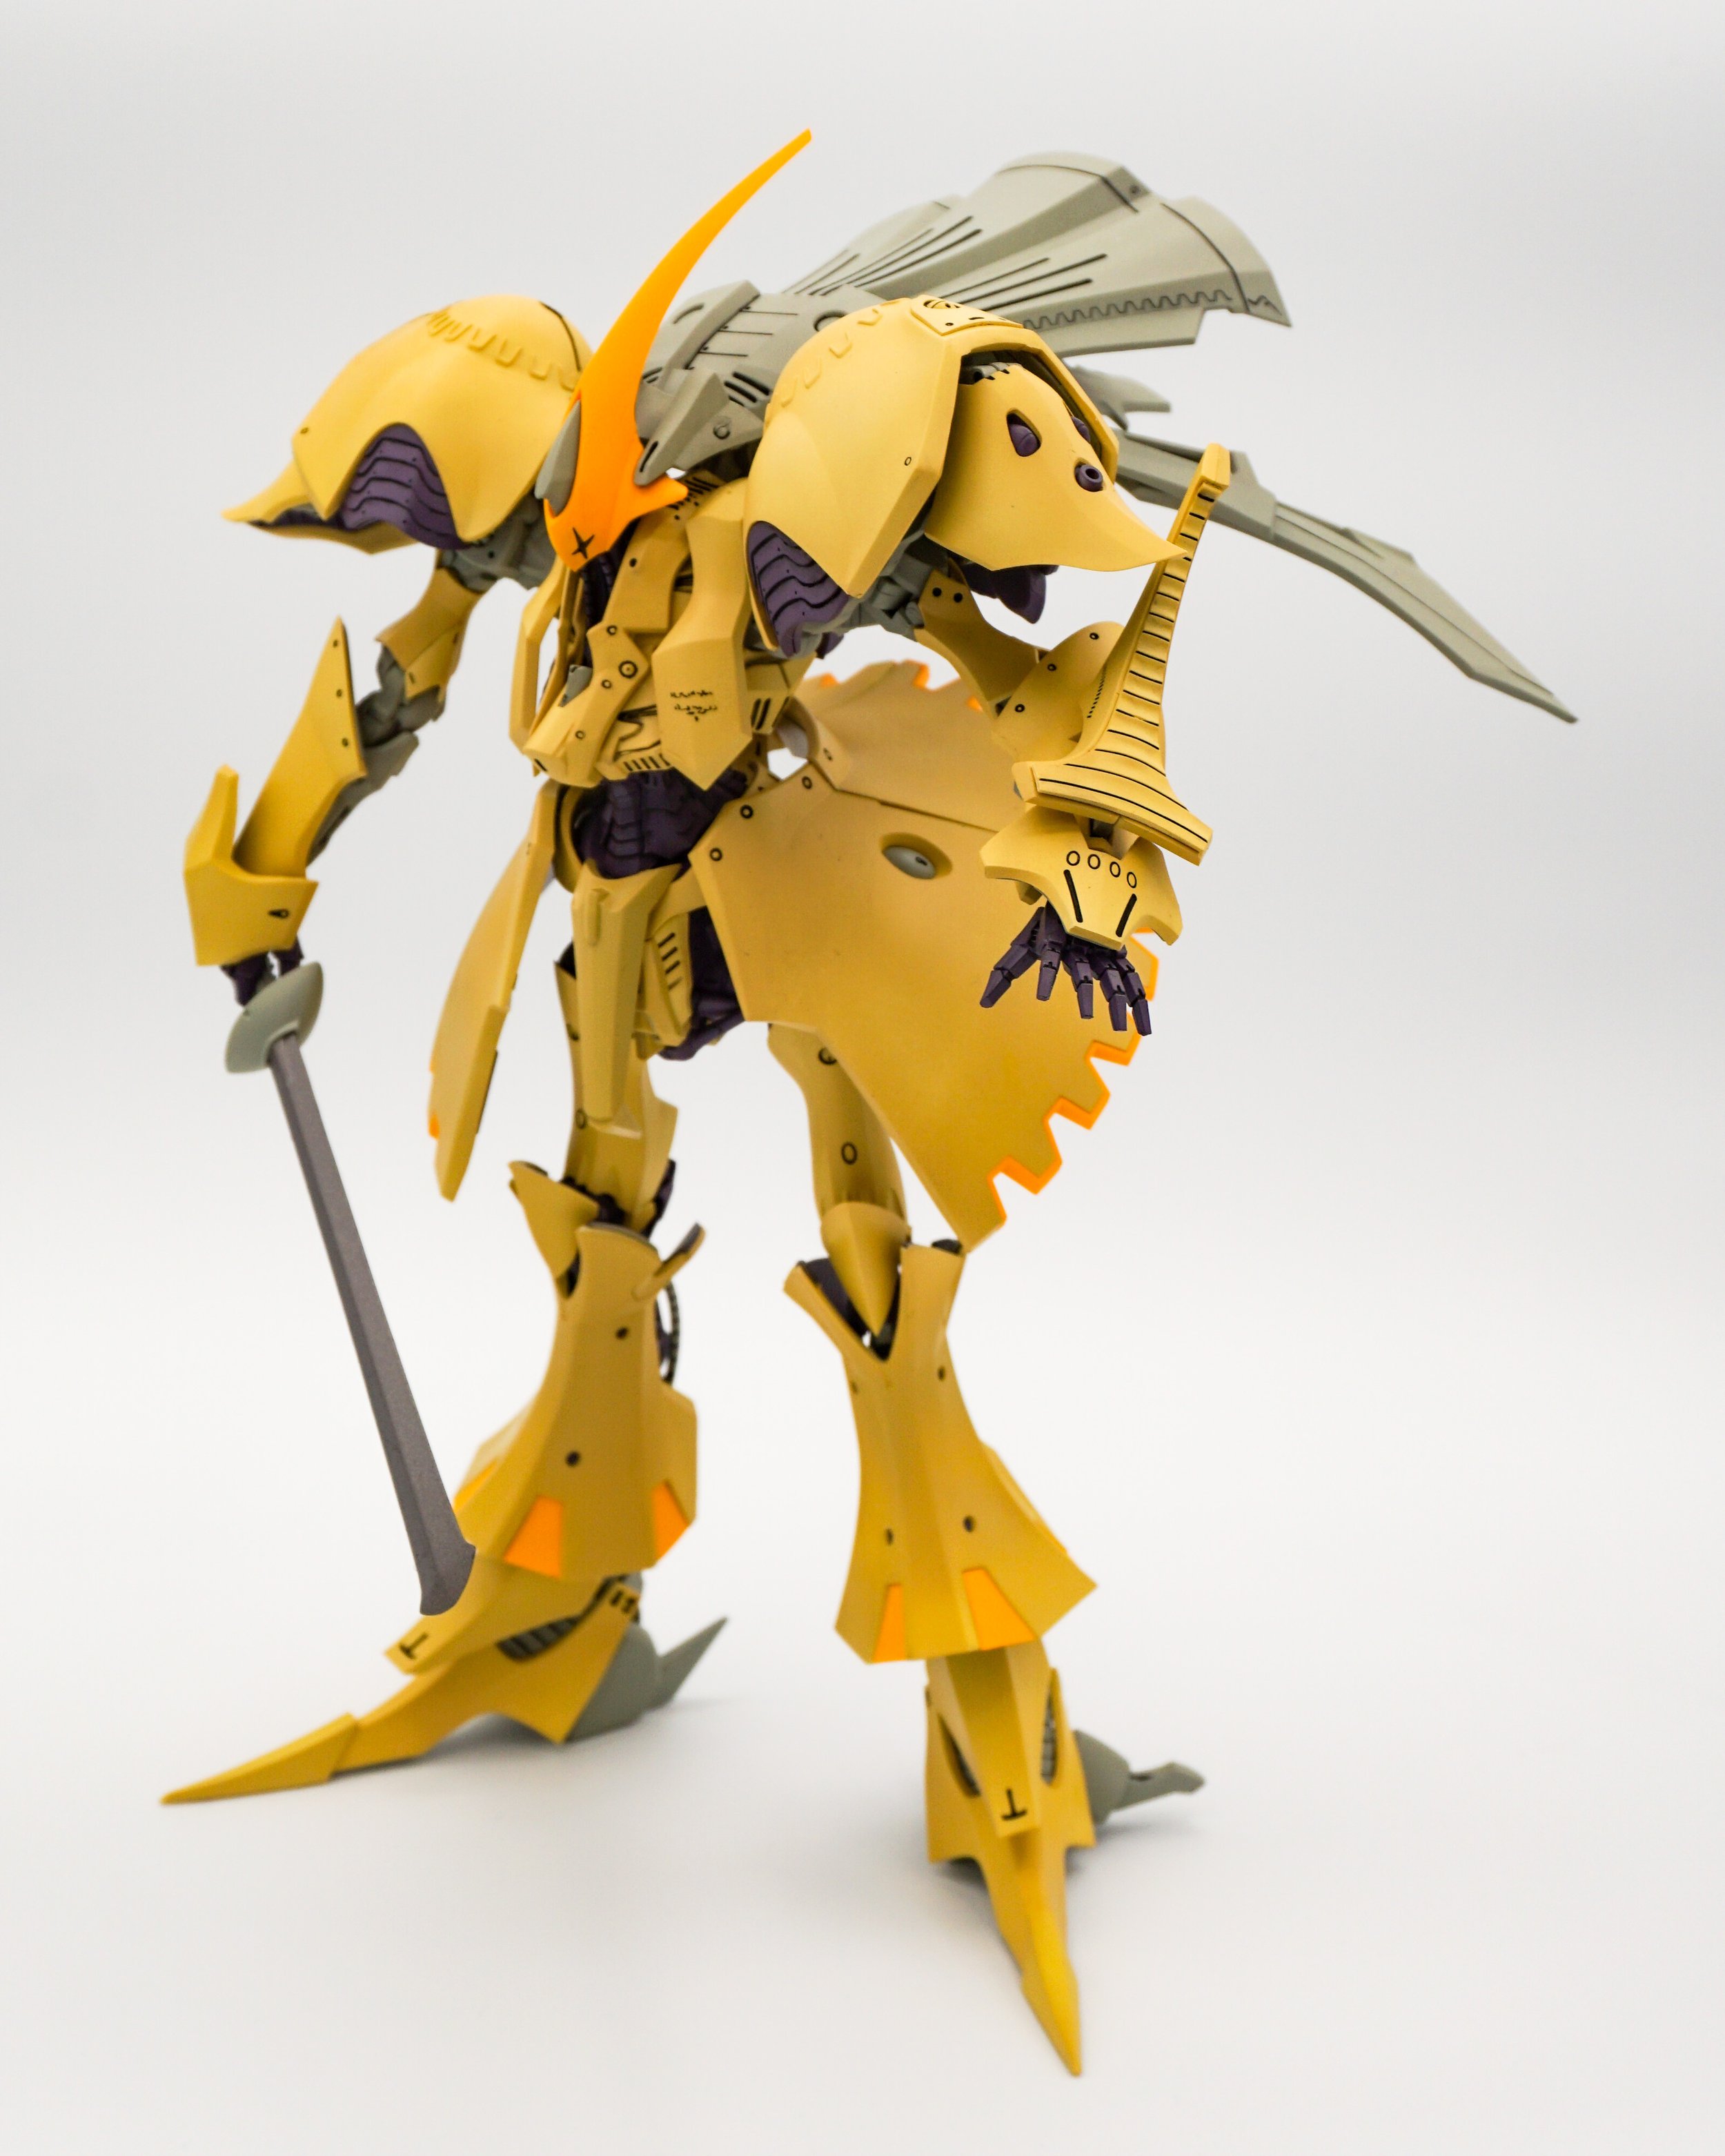
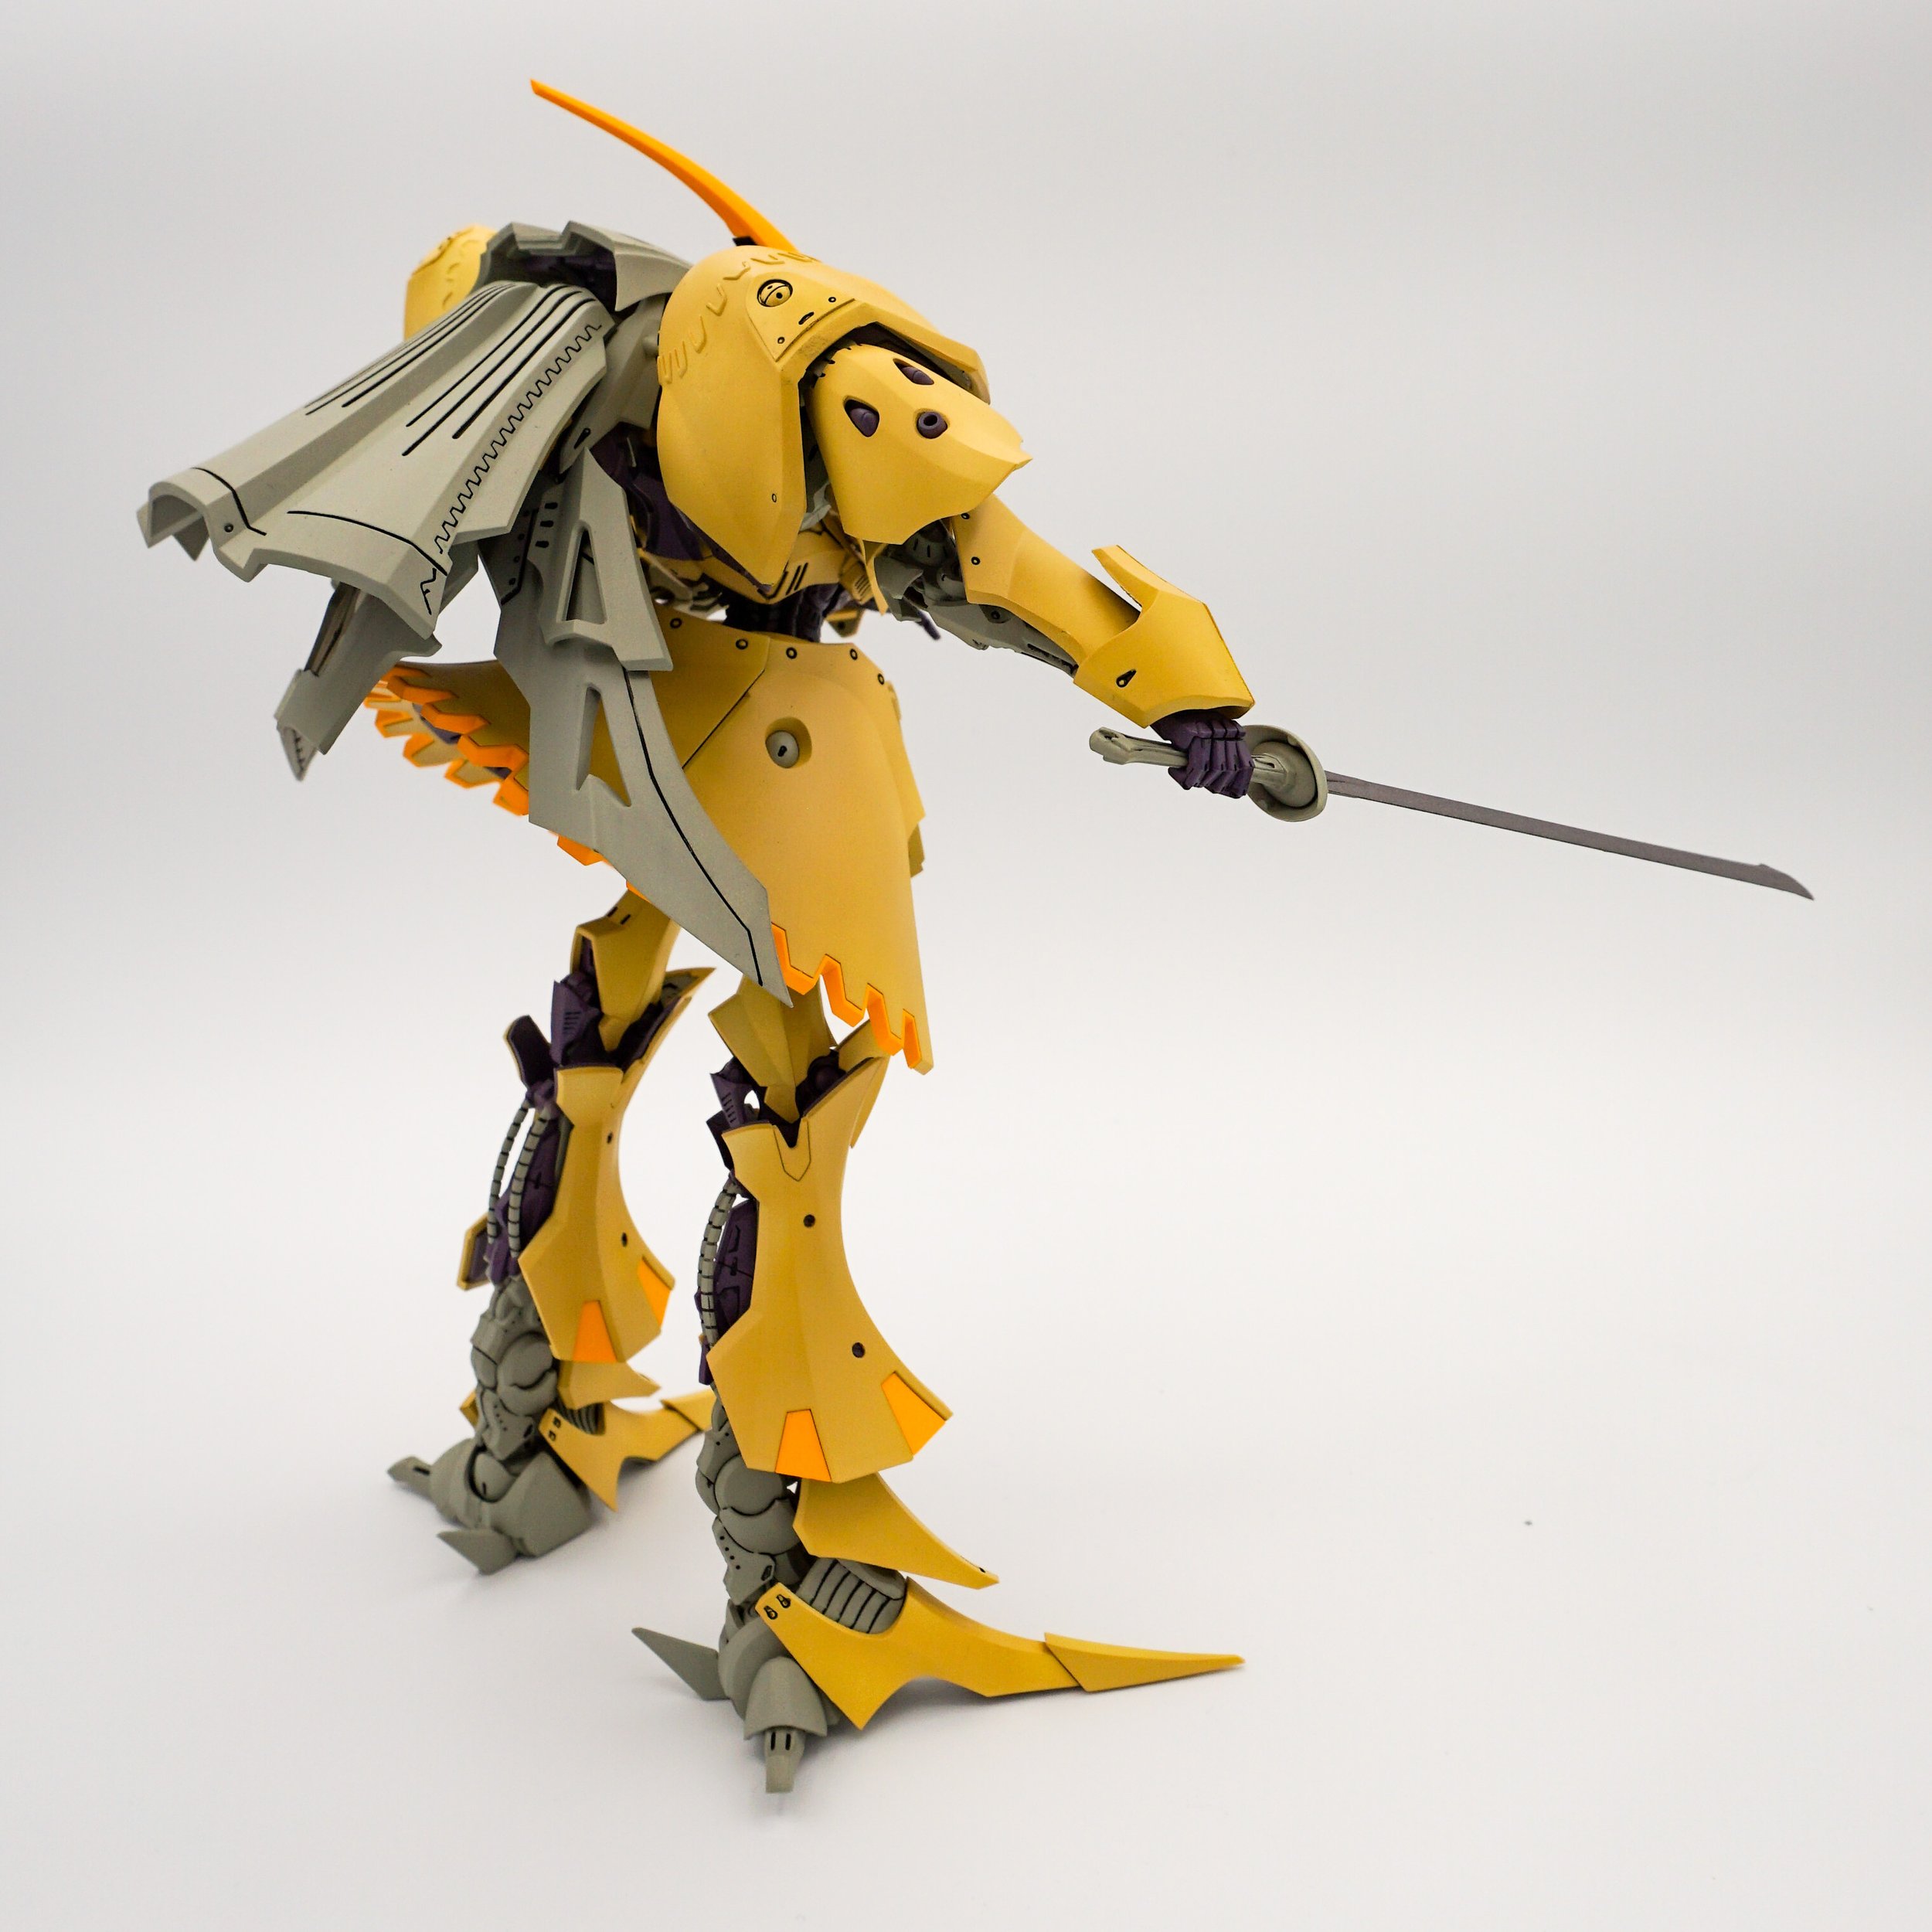
VAIOLA CRUMARS II - IMS 1/:100
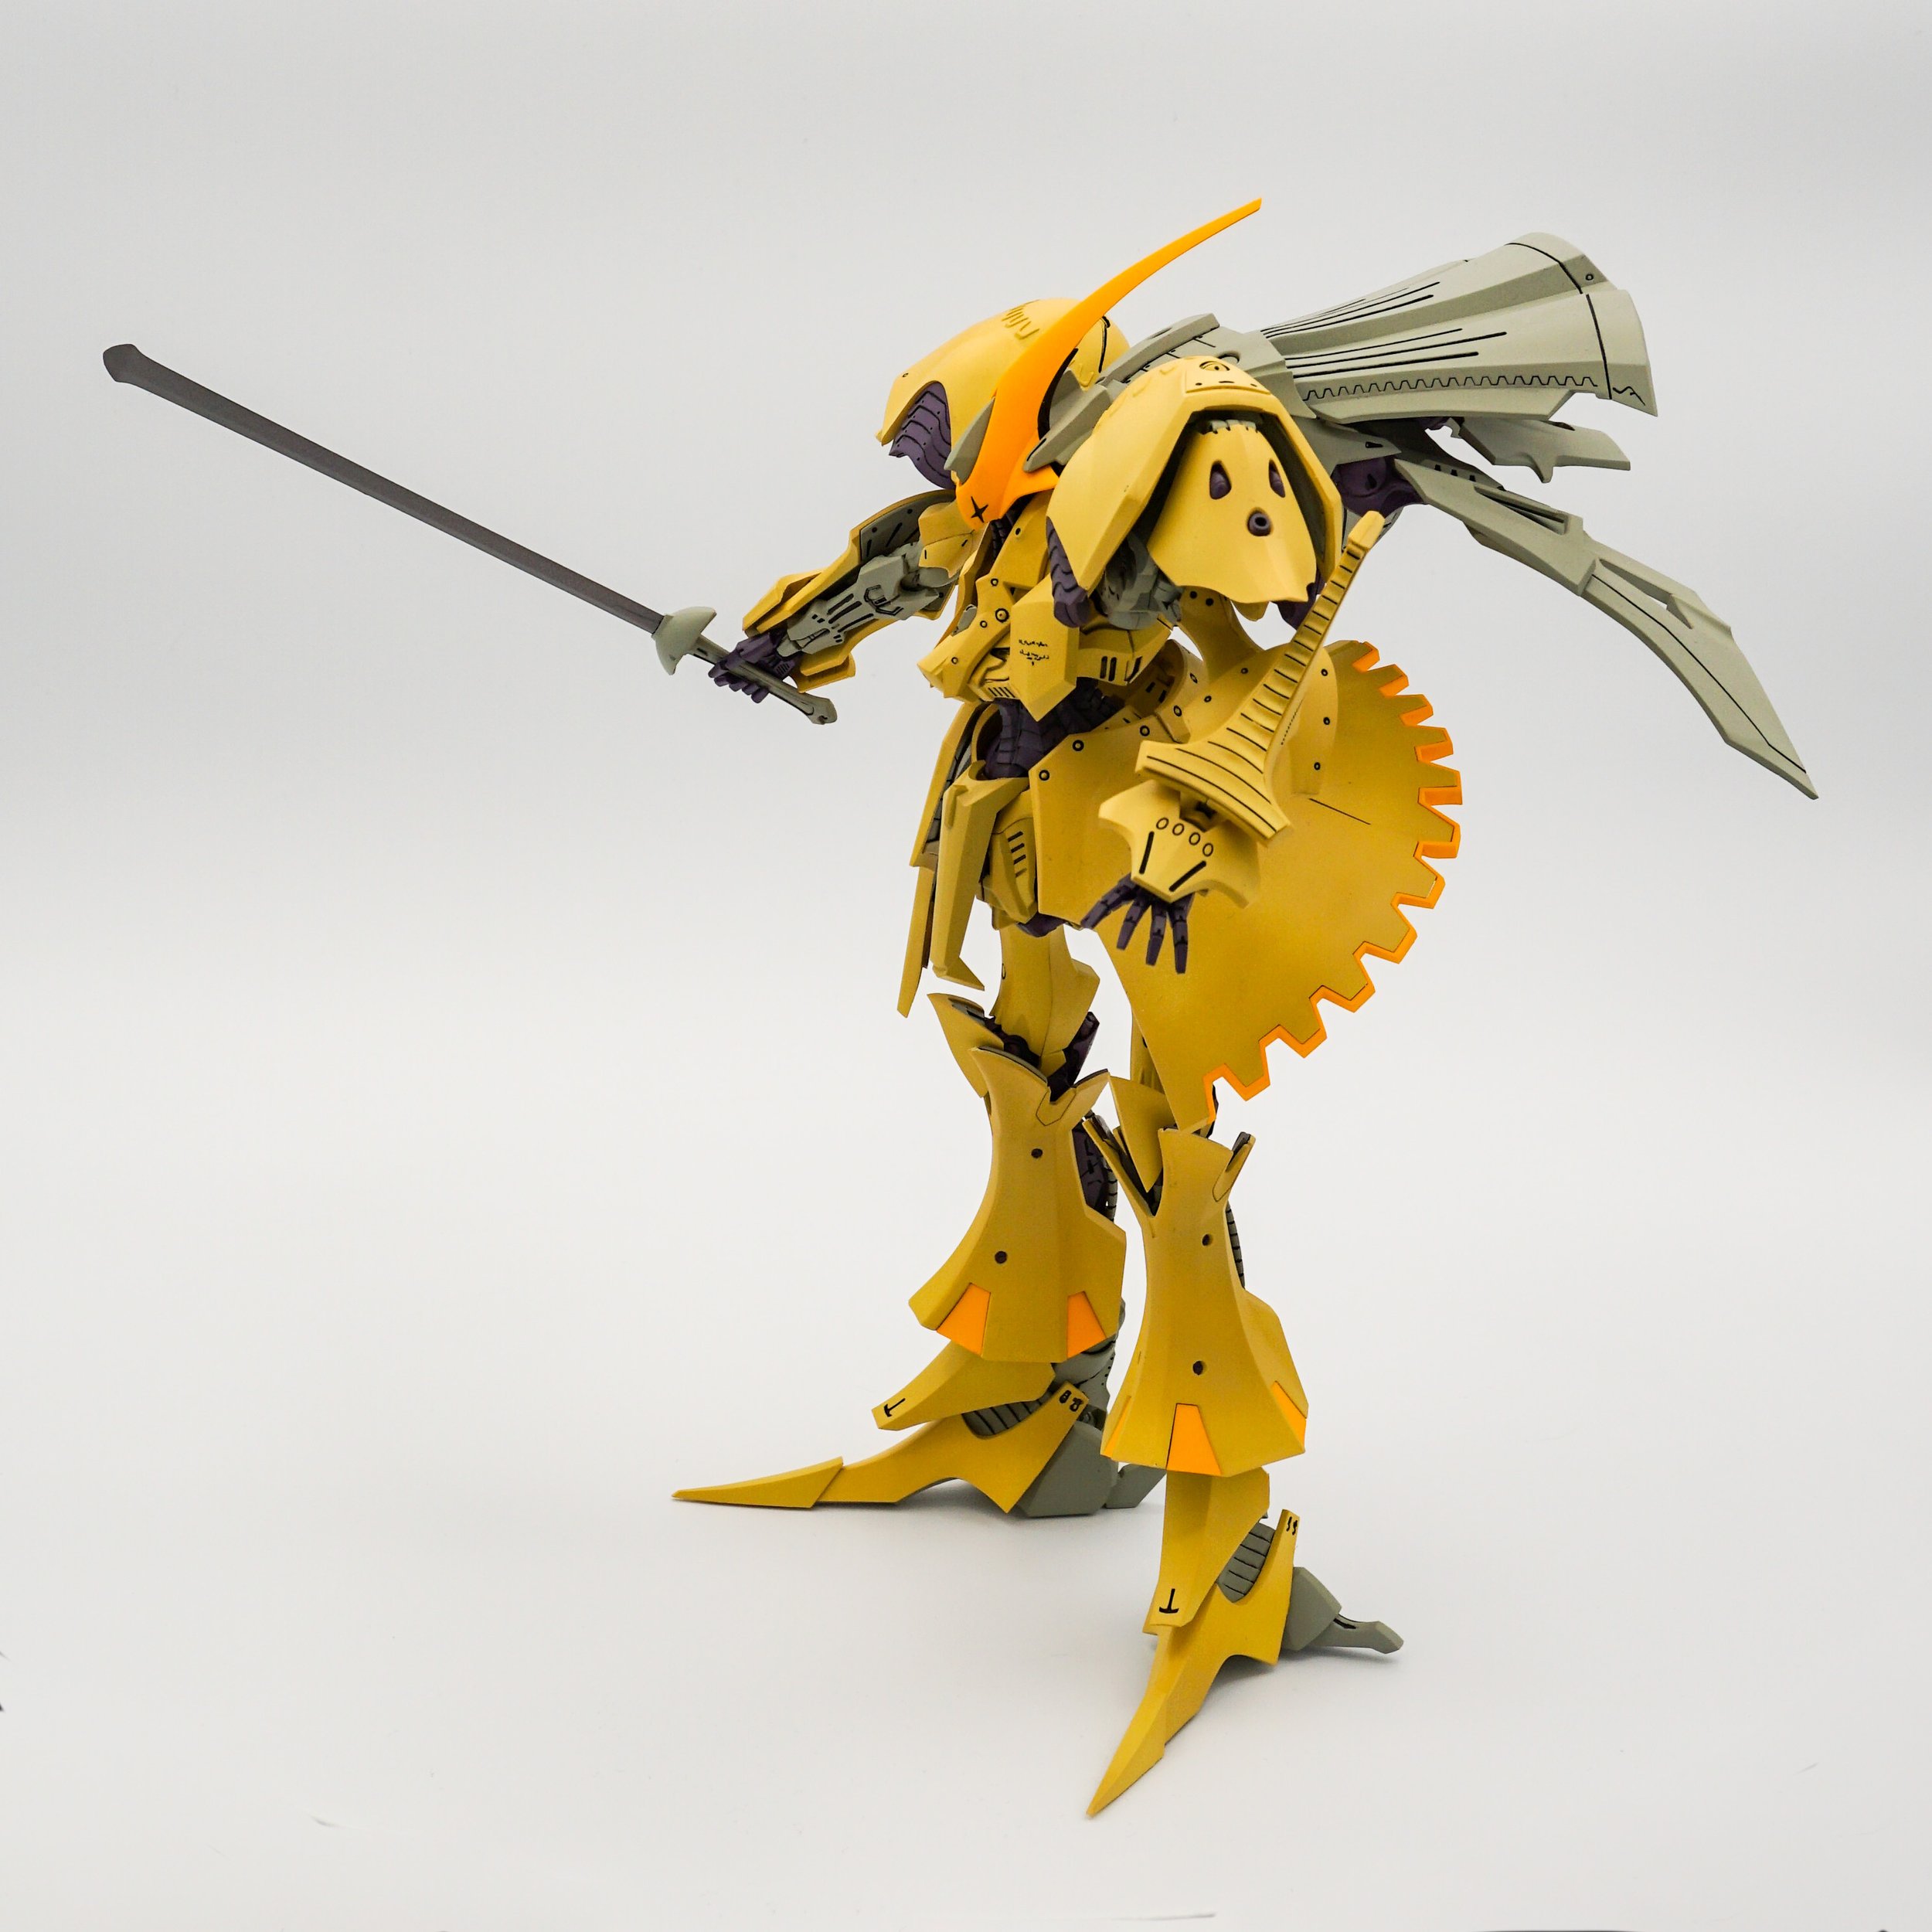
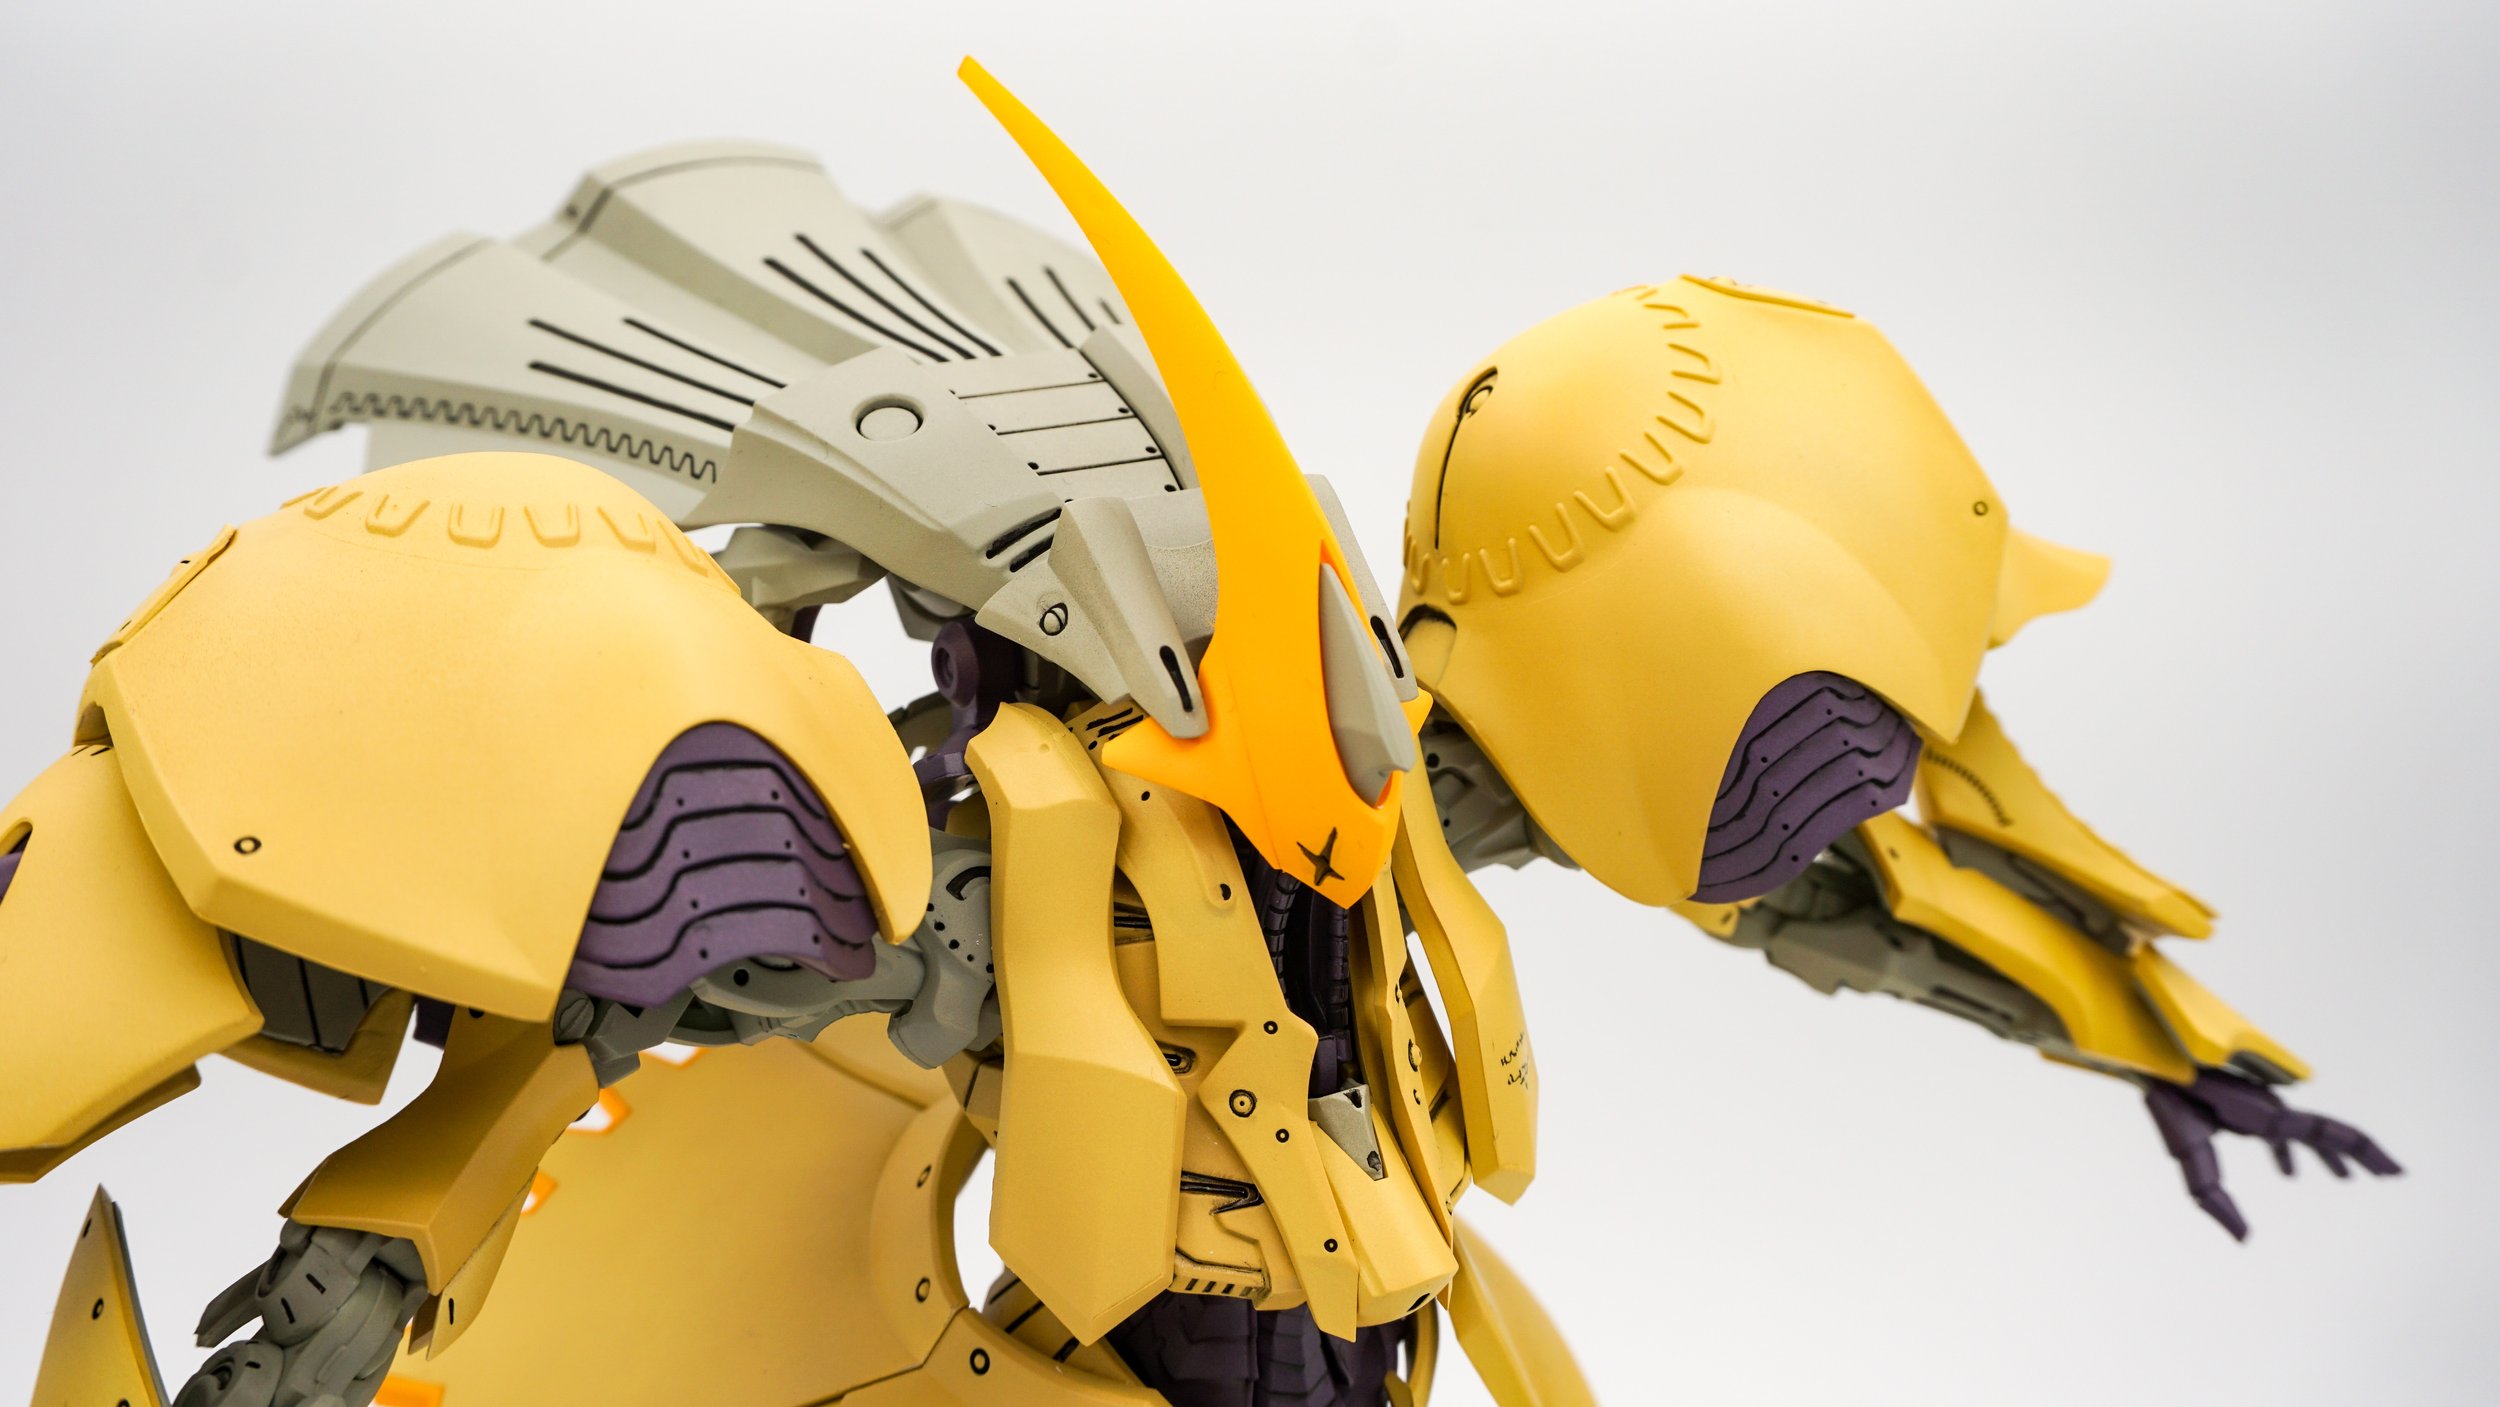
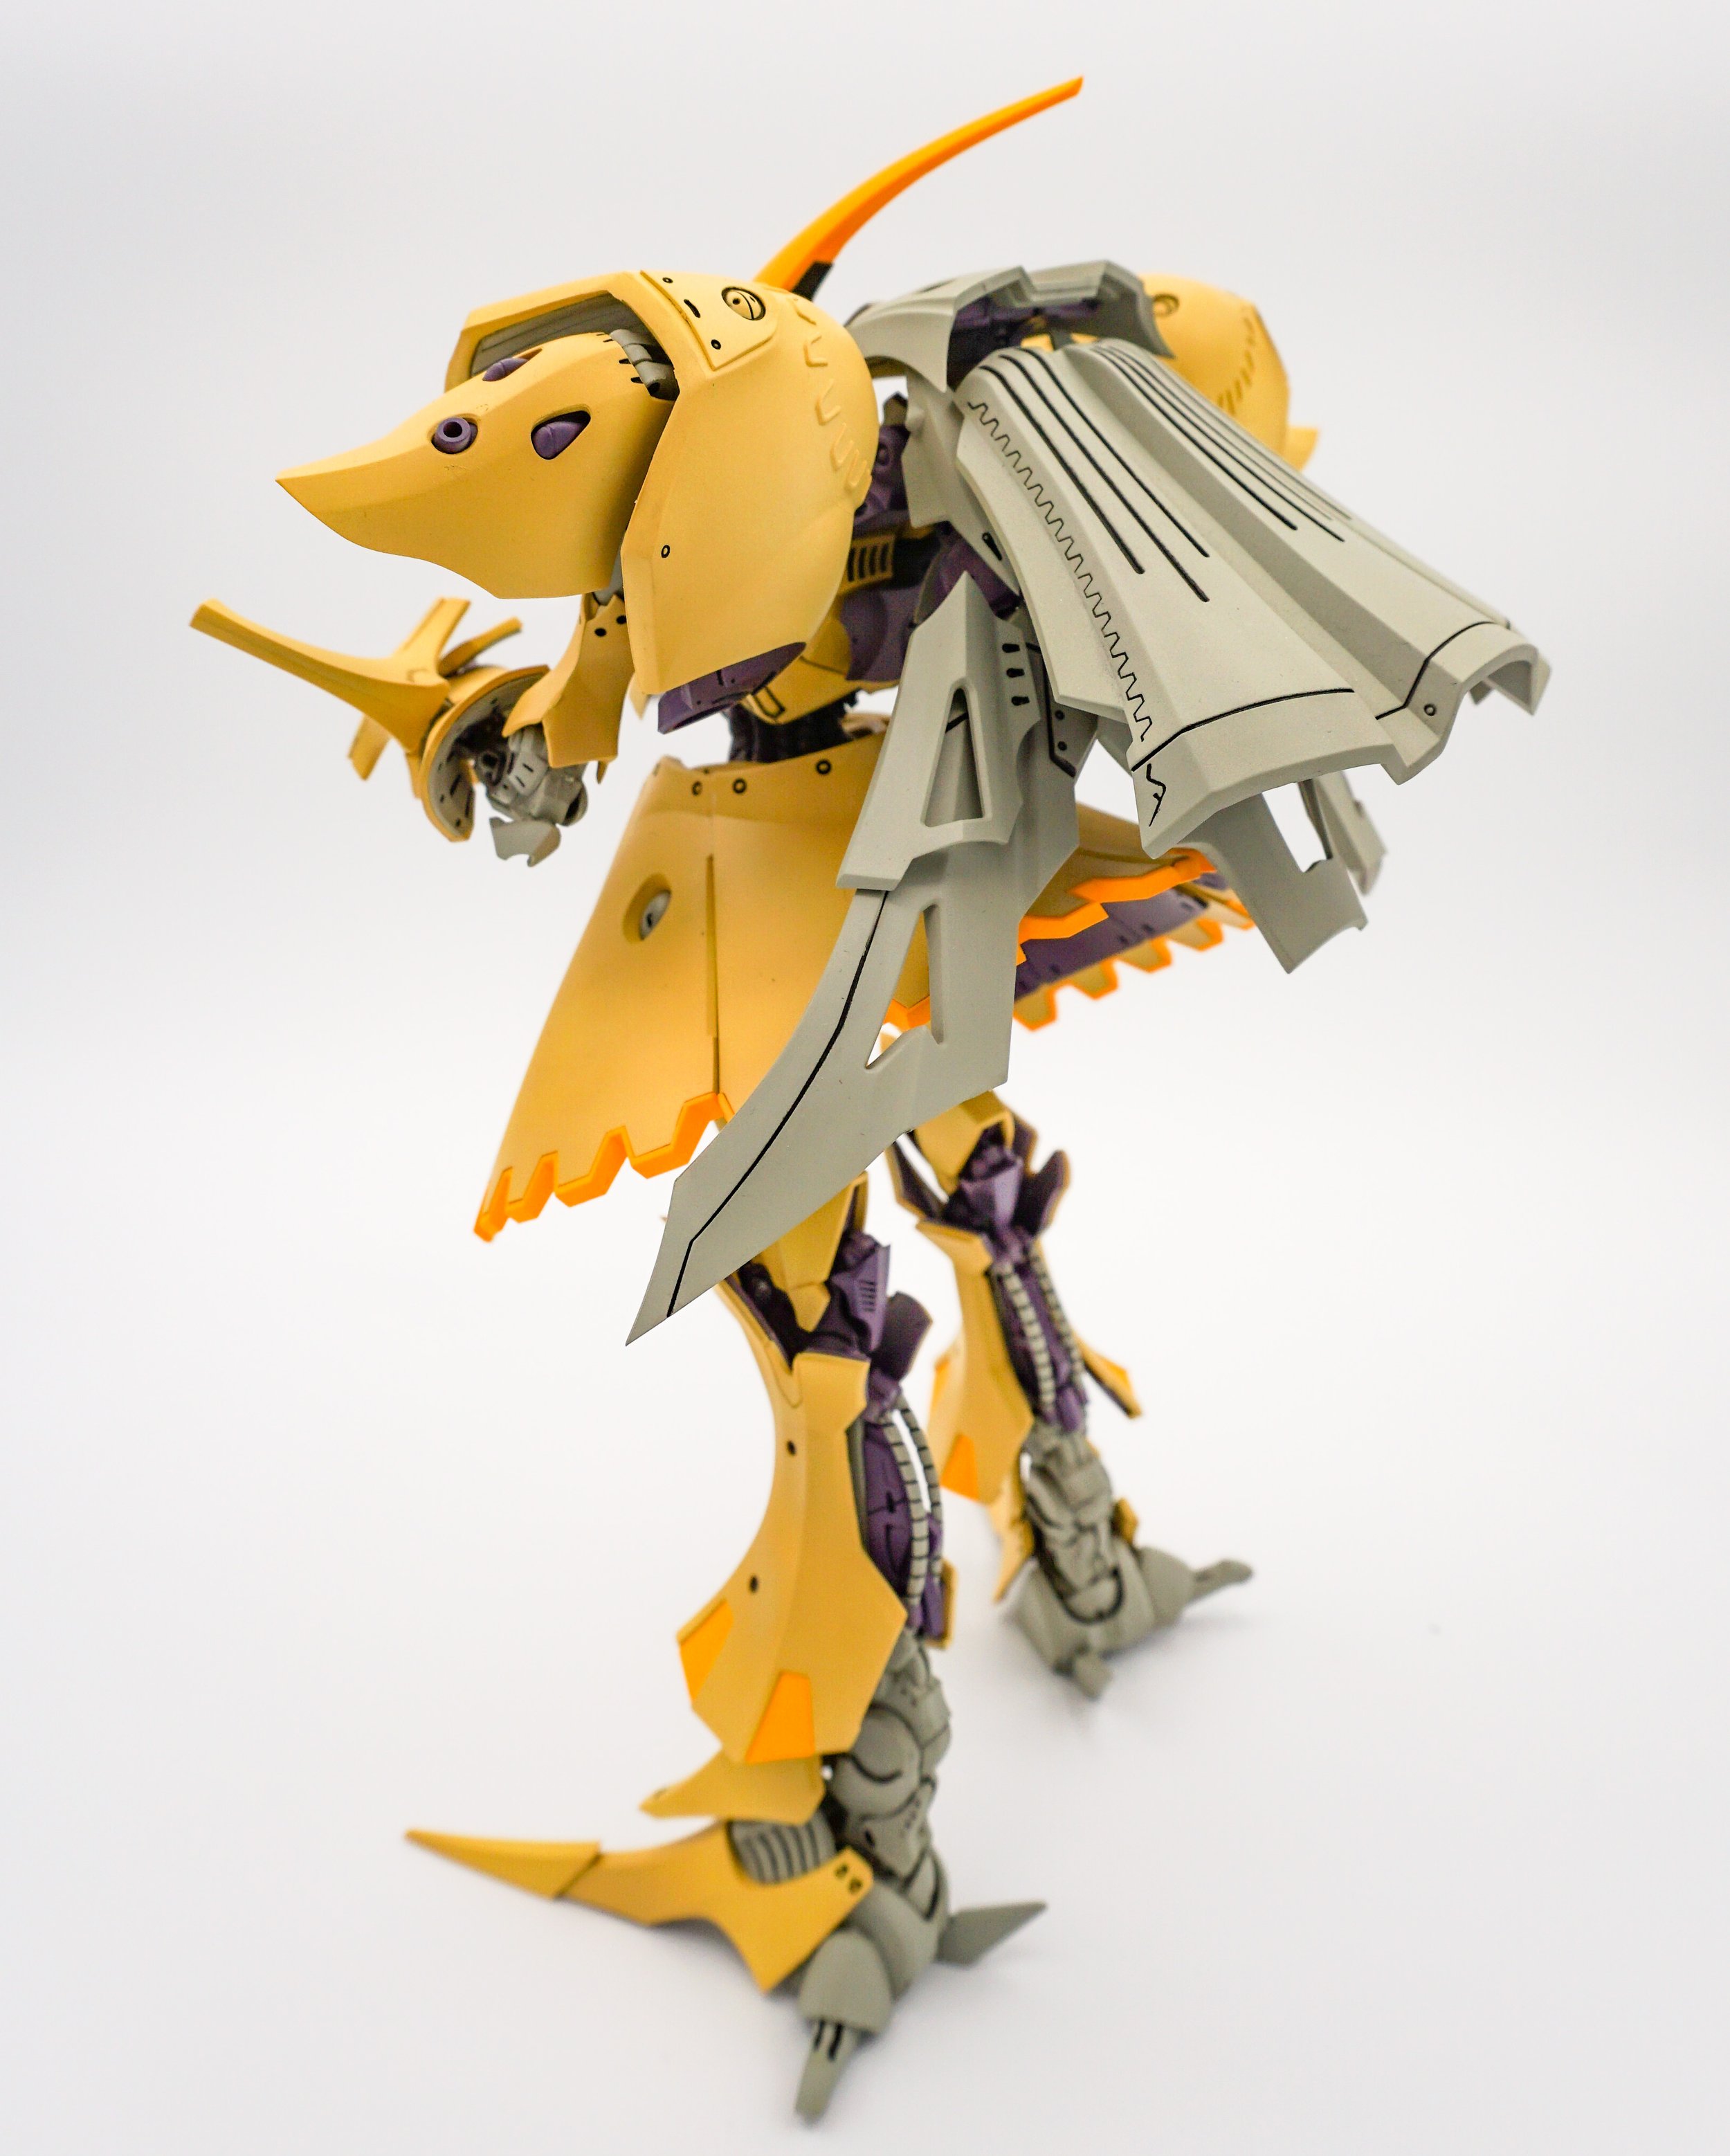
I started the Vaiola Crumars mid August 2022. These IMS kits are new to me. I’ve only worked with Volks resin kits for Five Star Stories IP. At the time of the build, this was one of two IMS FSS kits in my backlog. The other being the pretty huge LED Mirage Napalm Inferno. The Inferno was the more complicated build between the two of these. It’s not only large but also has translucent parts and I know there are effects I want to do on that one that I wasn’t really ready to undertake. So I built the Vaiola as to get a feel for these IMS kits. The build was pretty straightforward. The instructions were great. Unlike other kits, they don’t document the assembly of every part. Rather, there are notations where it’s necessary to build two, or to build mirrored versions. The instructions also included paint mixes for the colours in the two available liveries. I chose the Pied Piper Mercenaries version. There are two different heads for the two versions. Other than slightly different colours, the shape of the eye is the only physical difference.
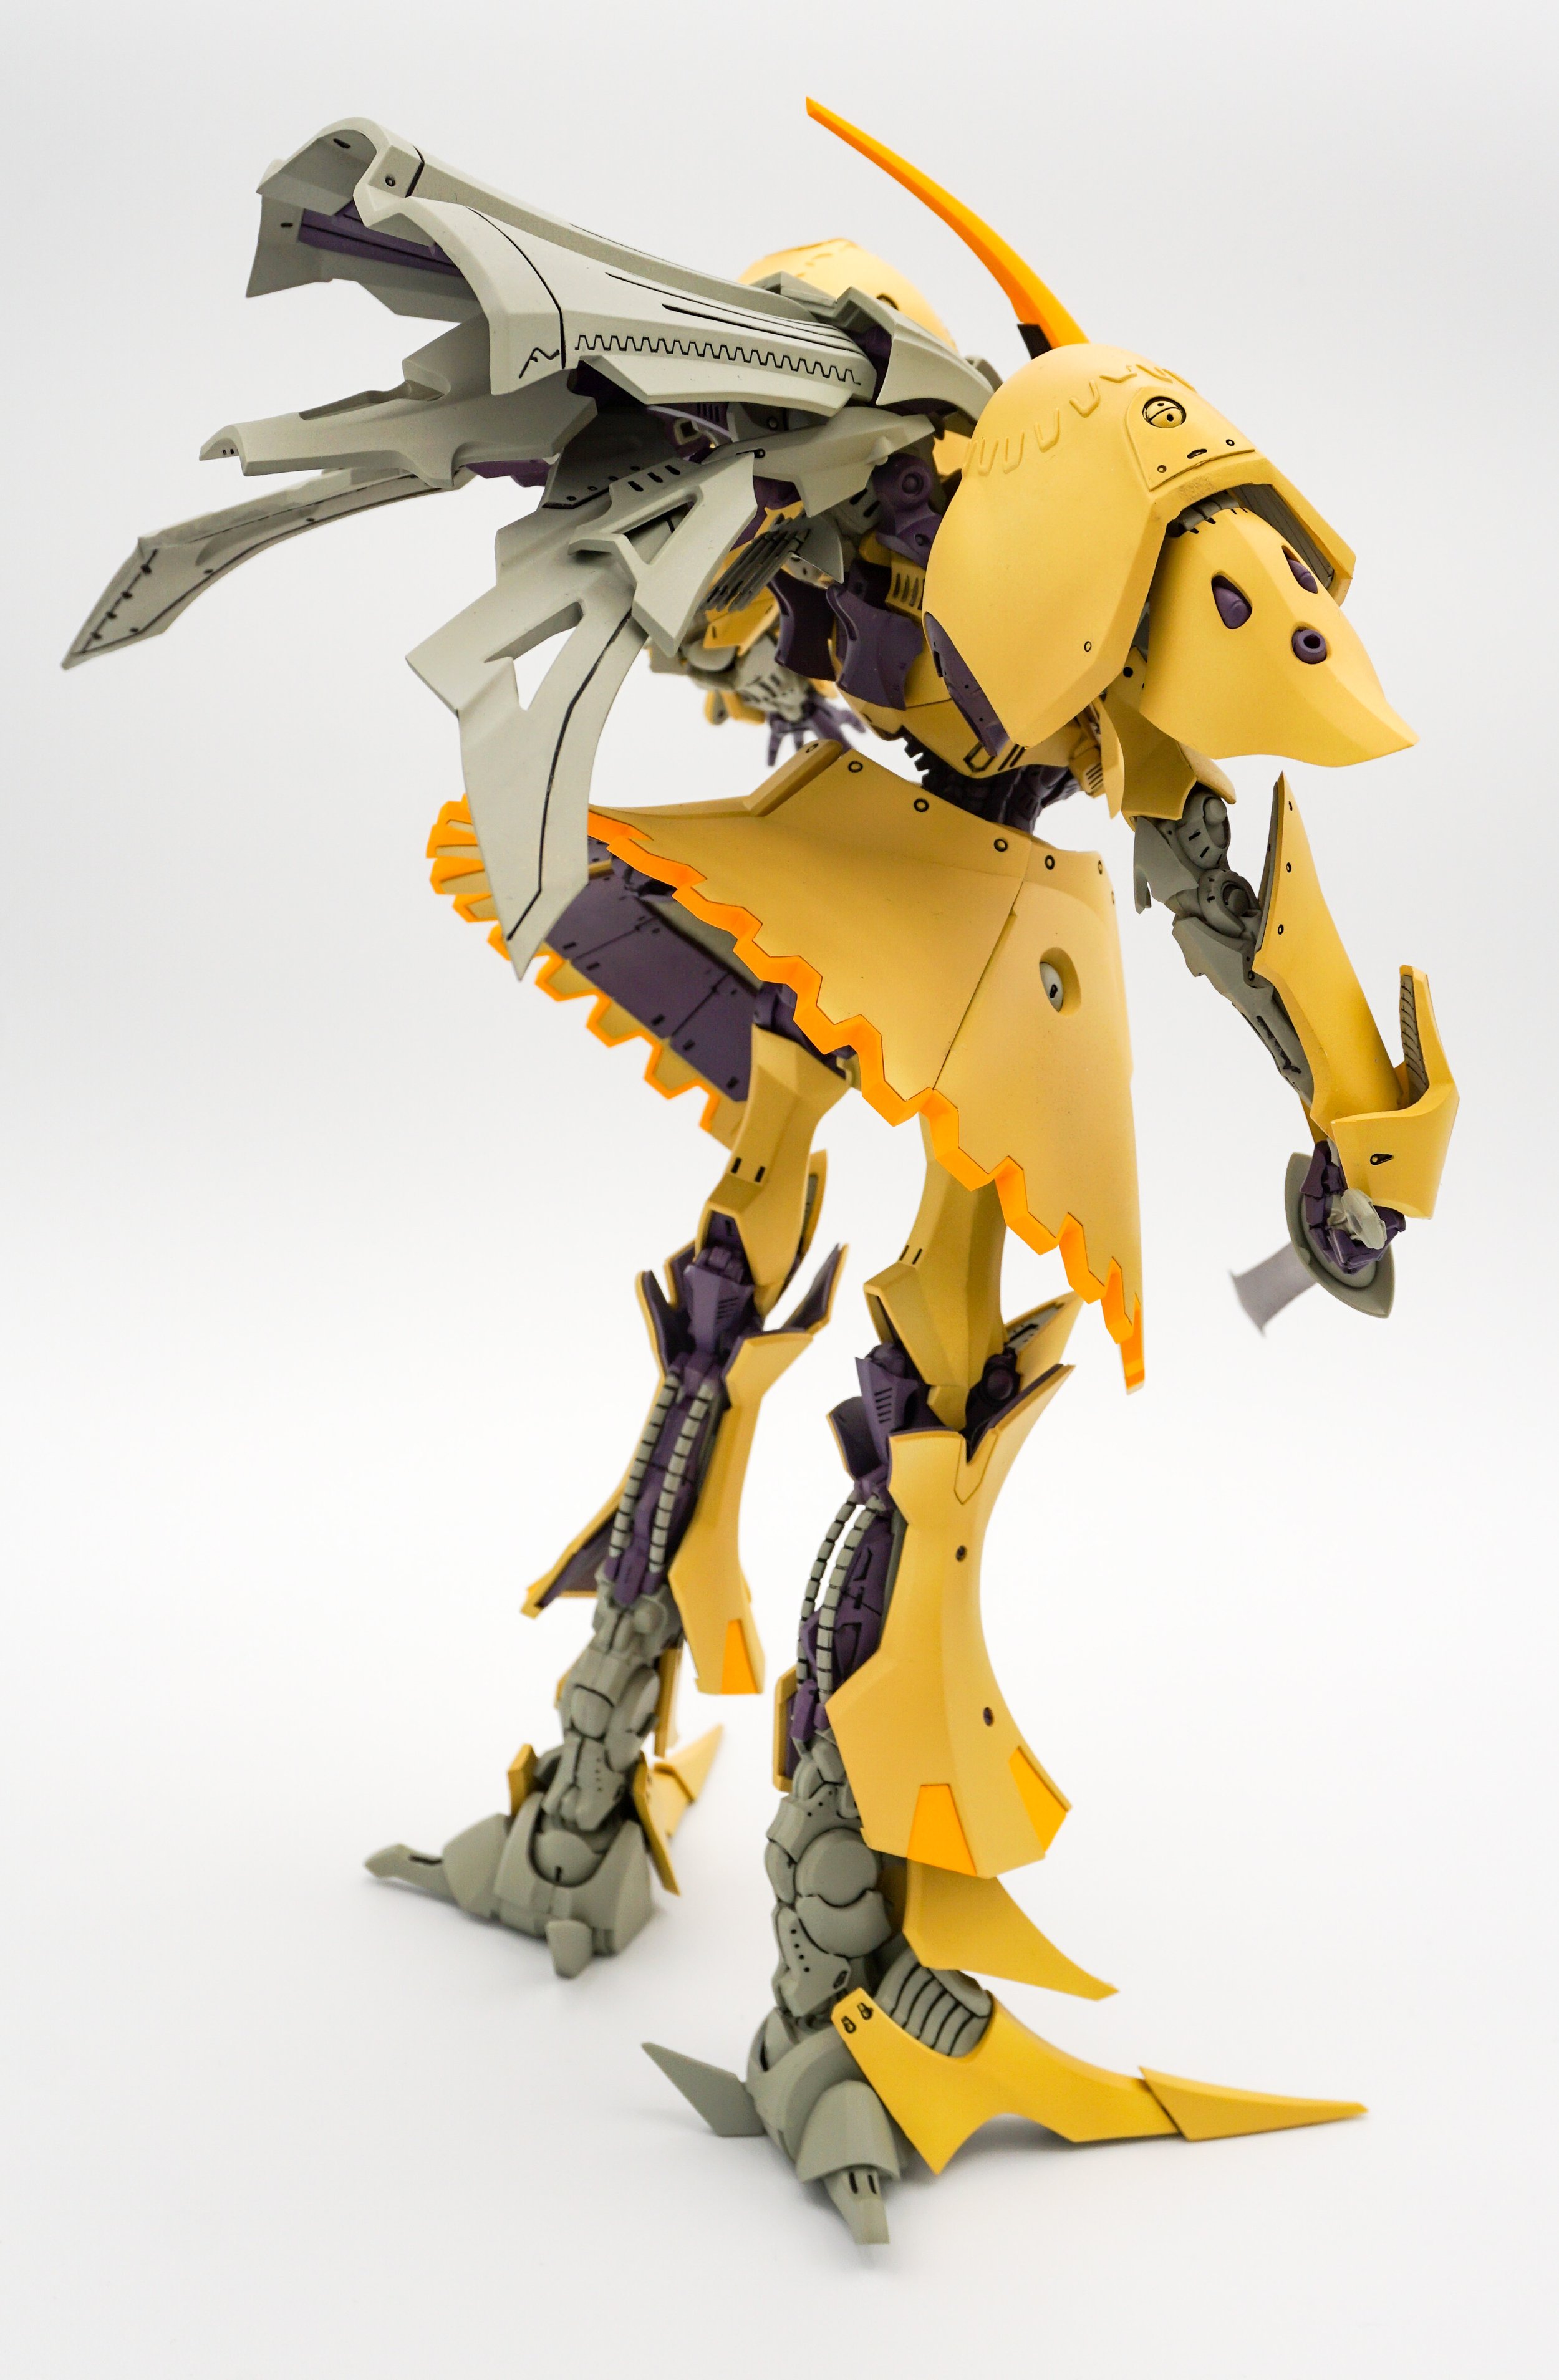
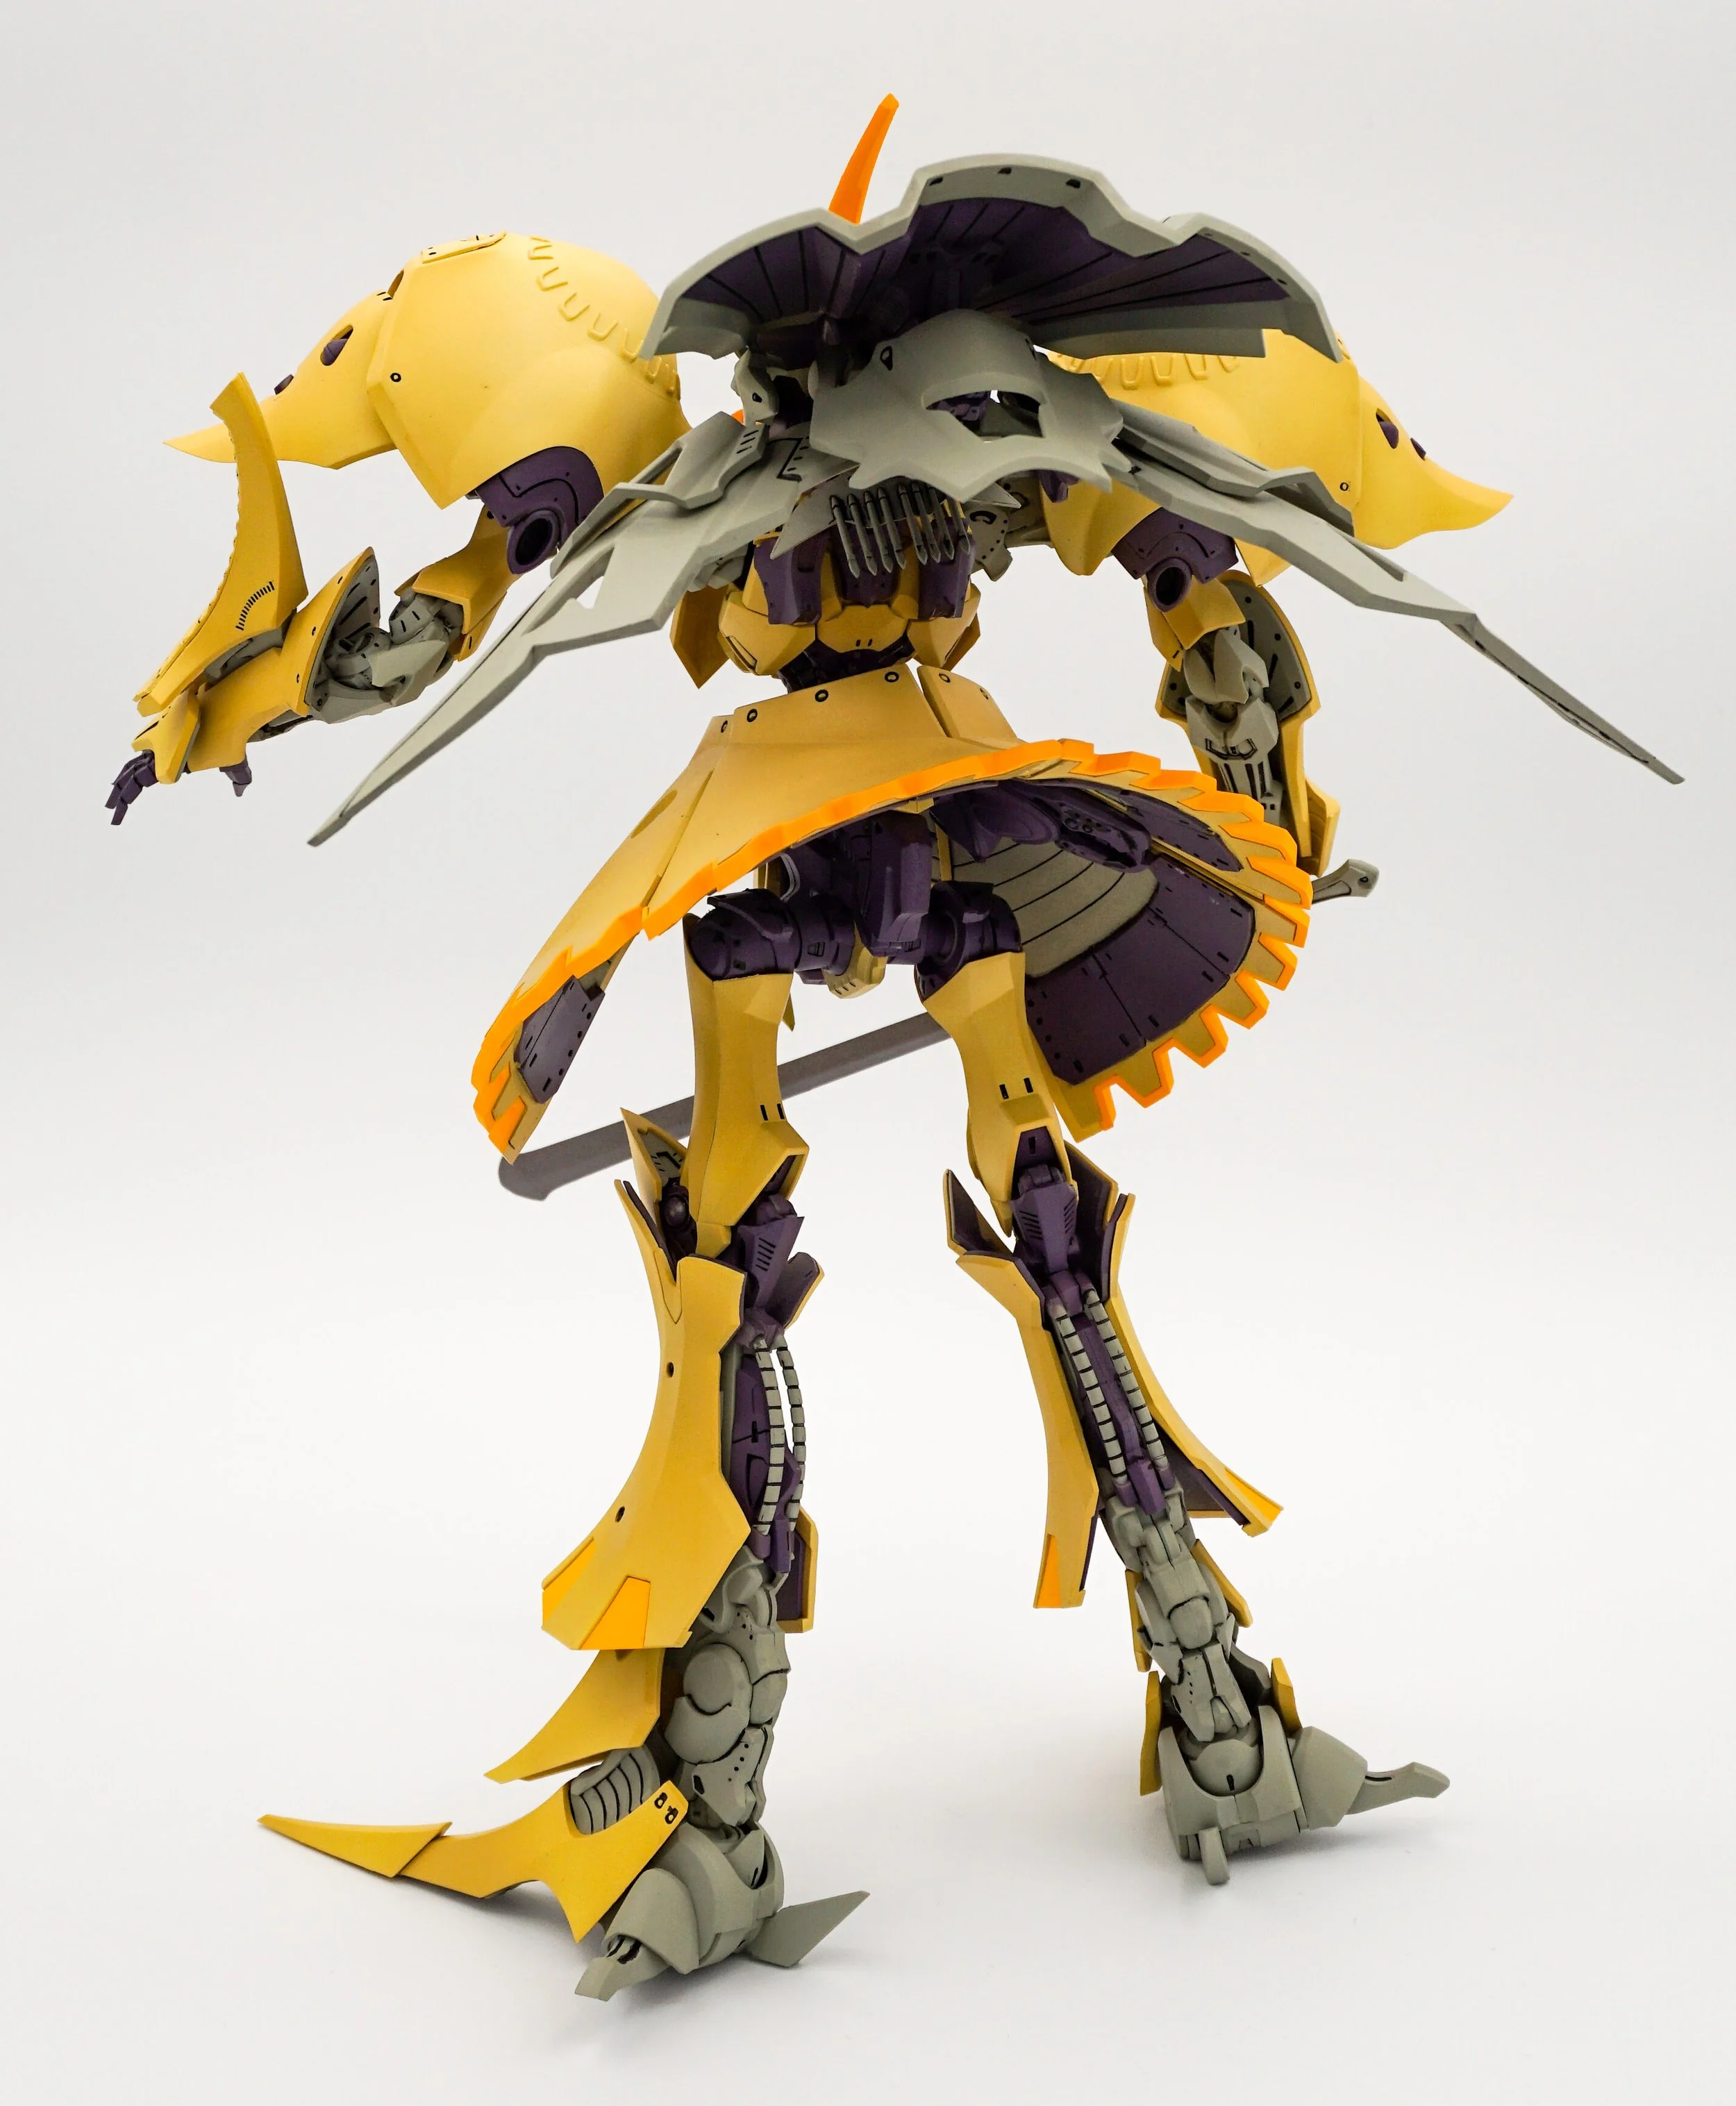
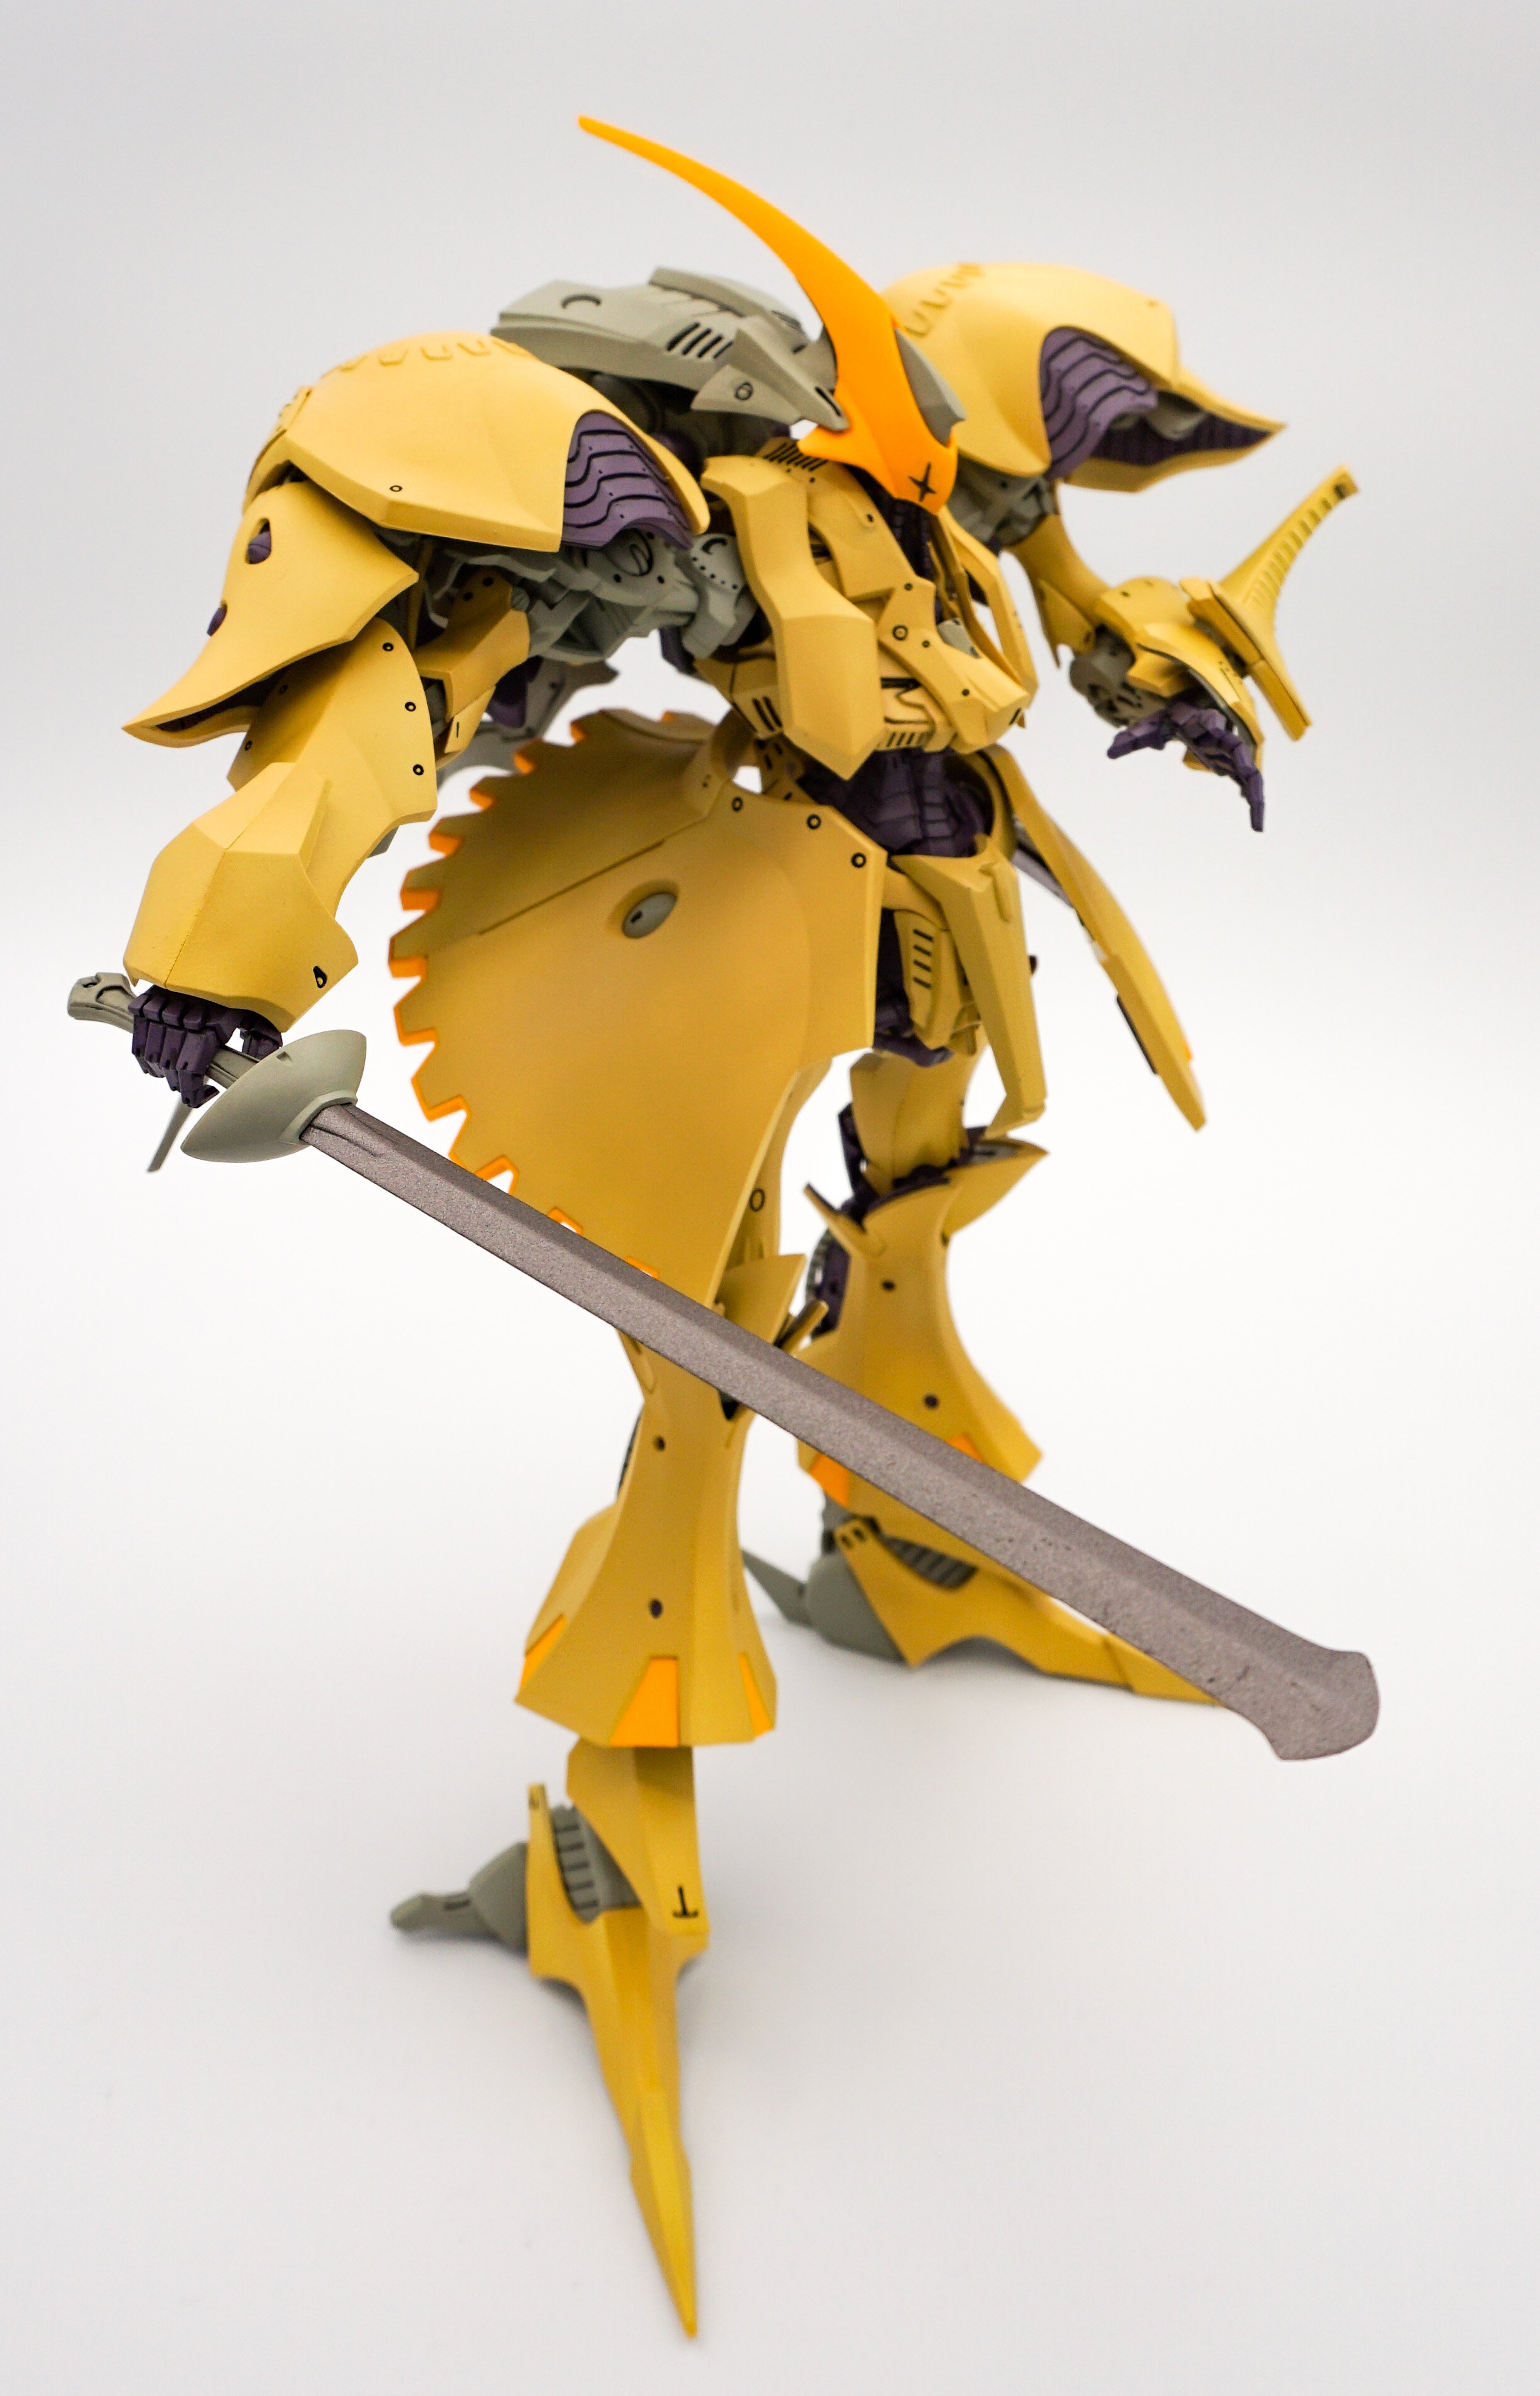
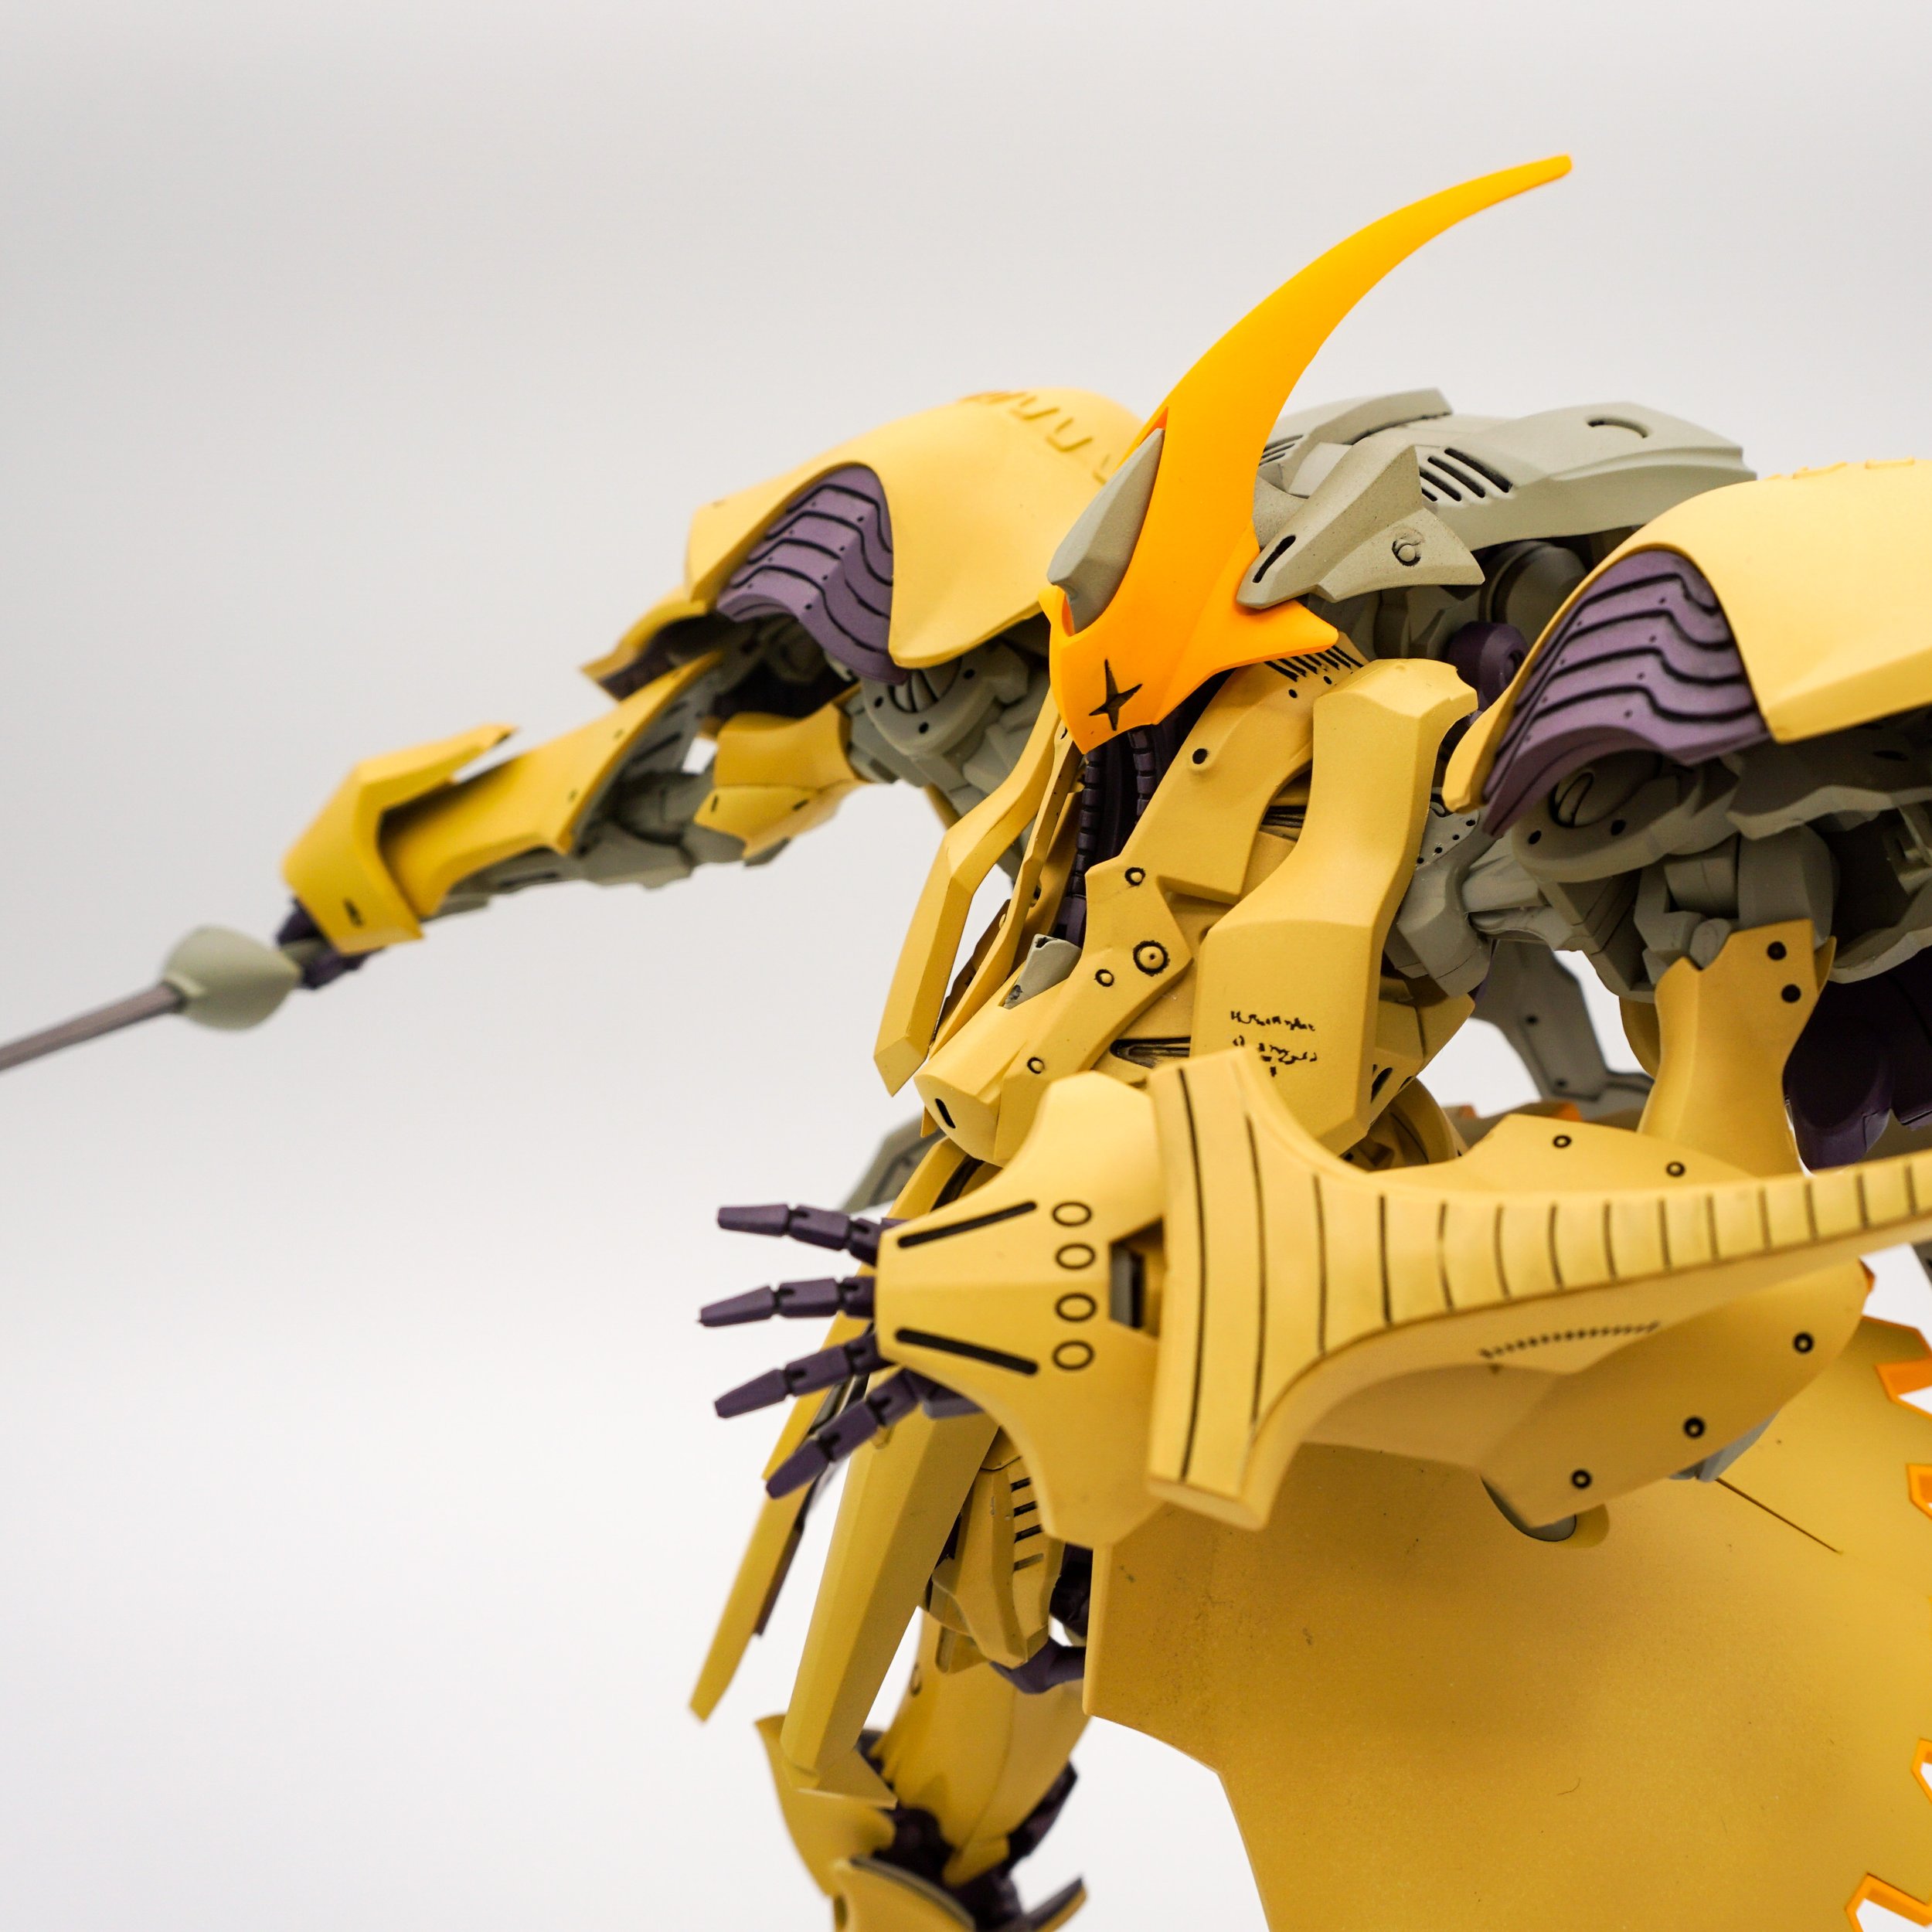
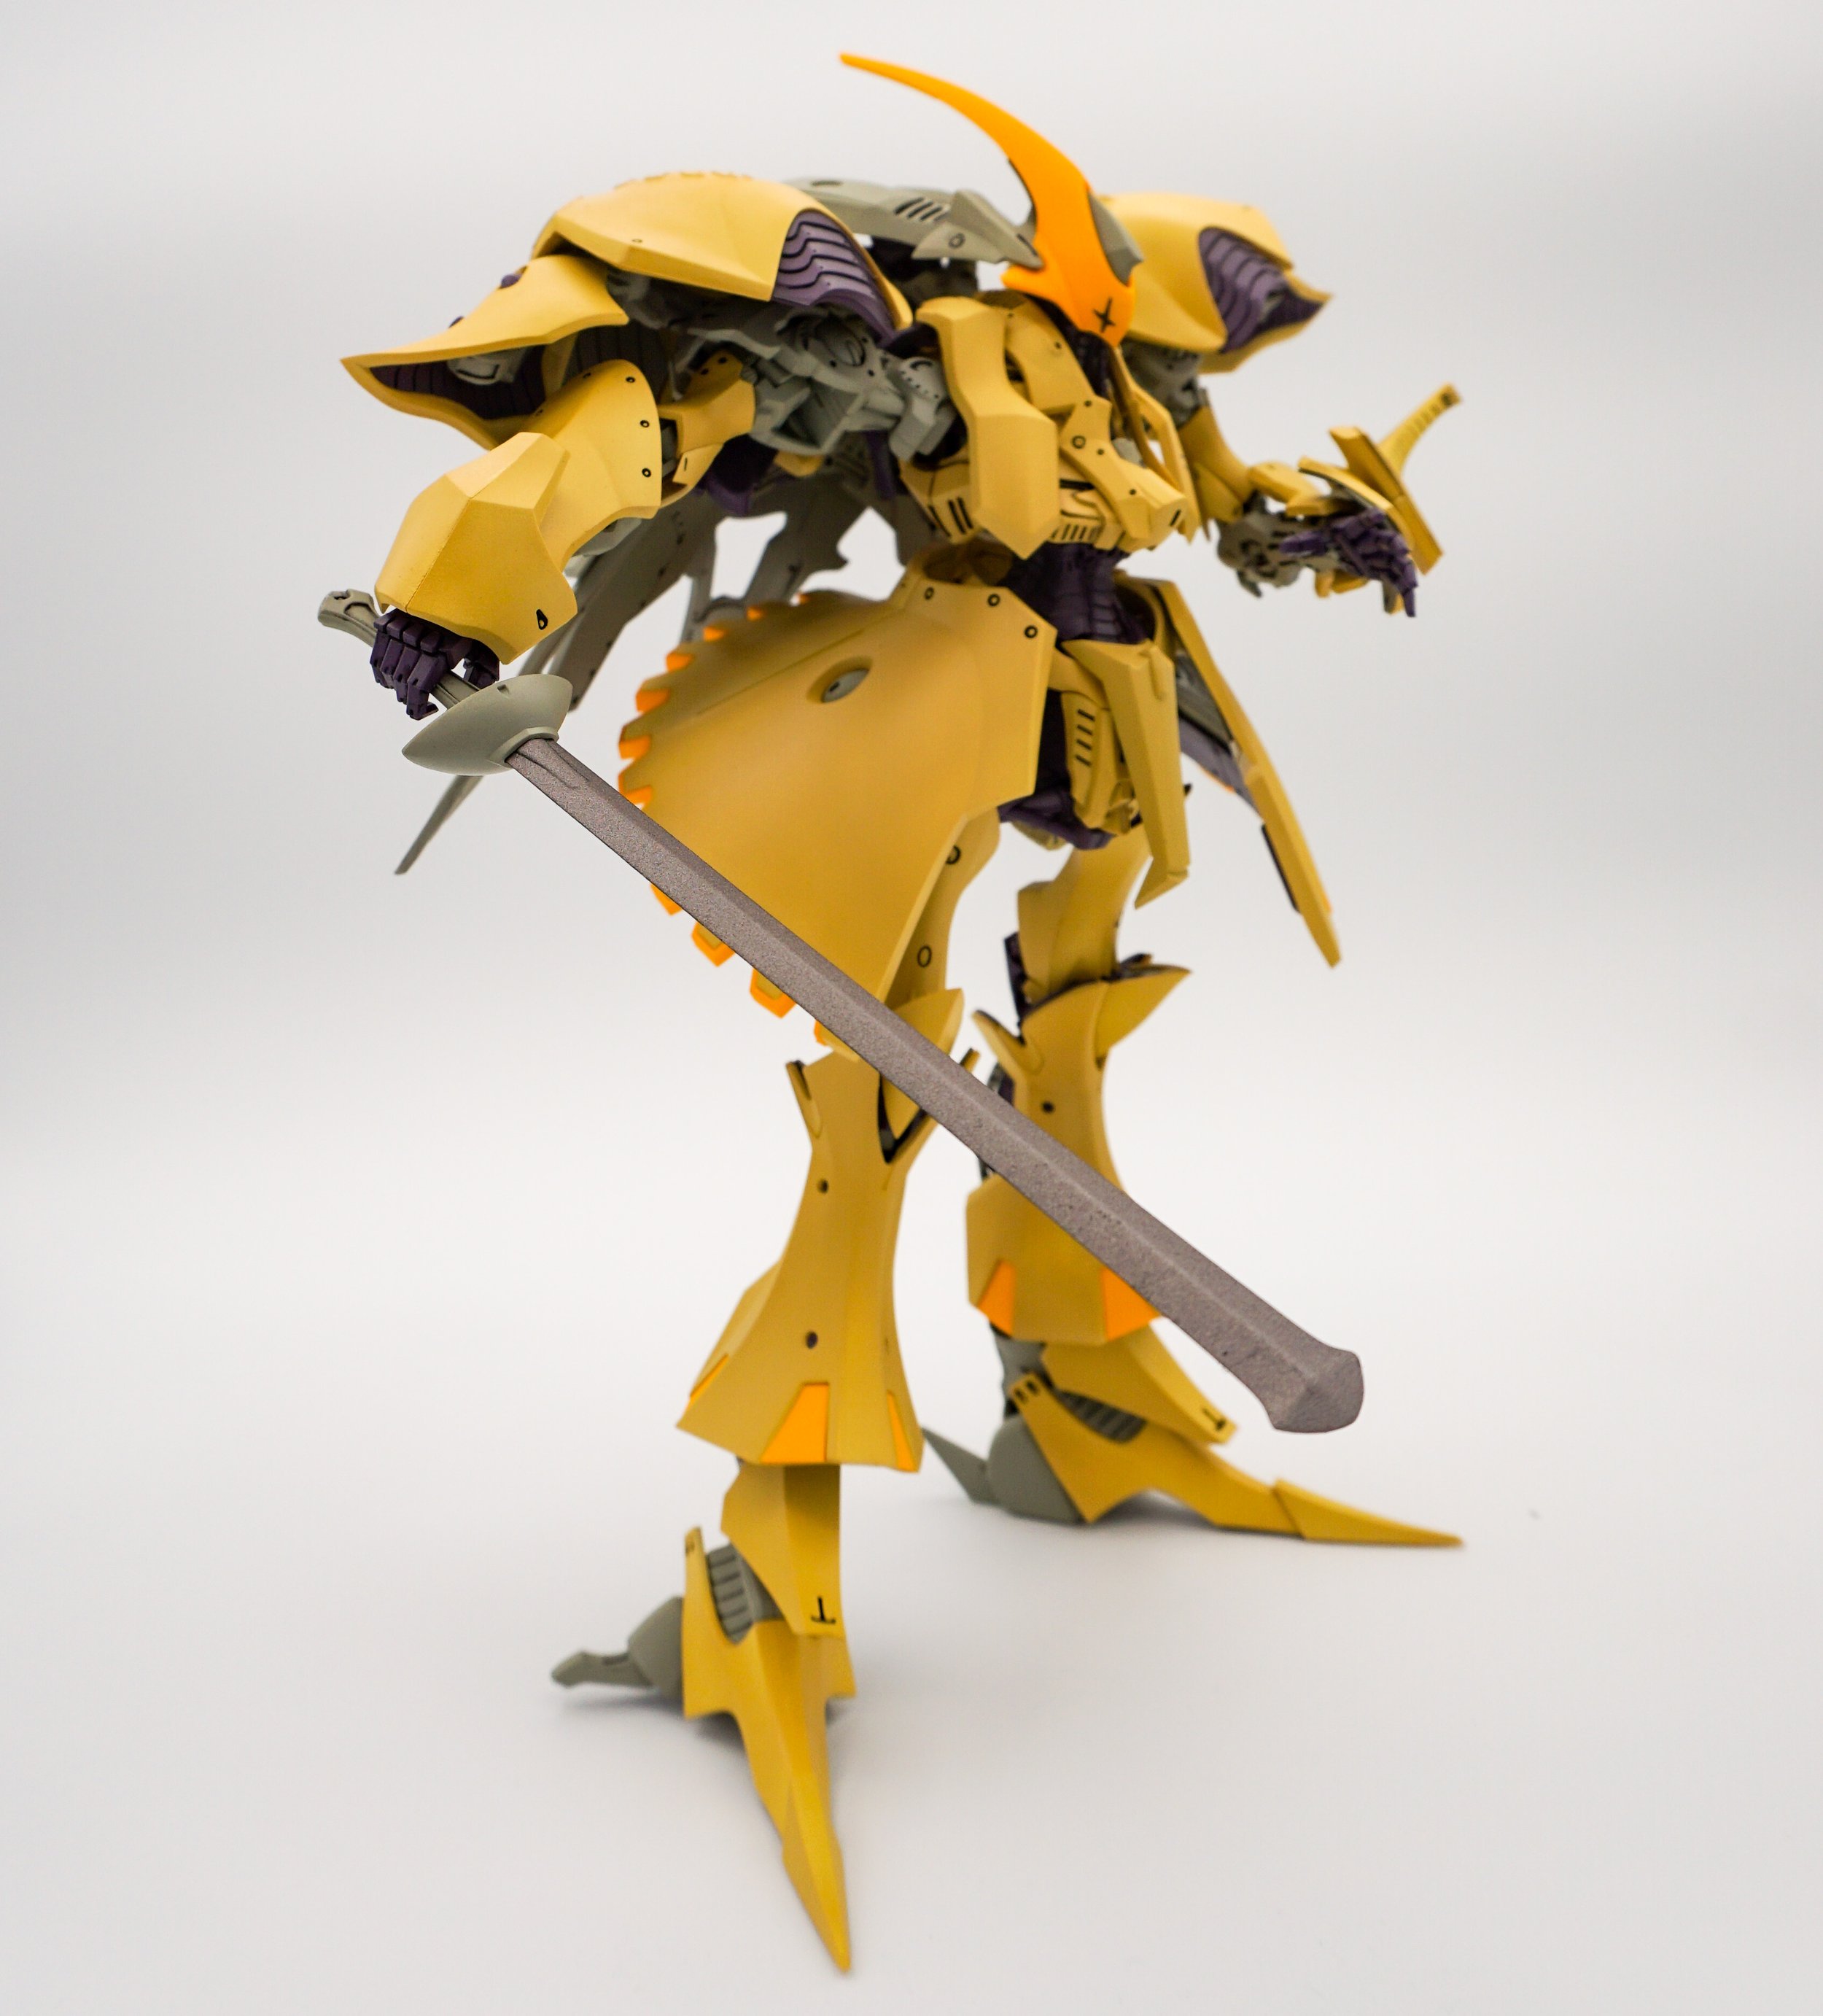
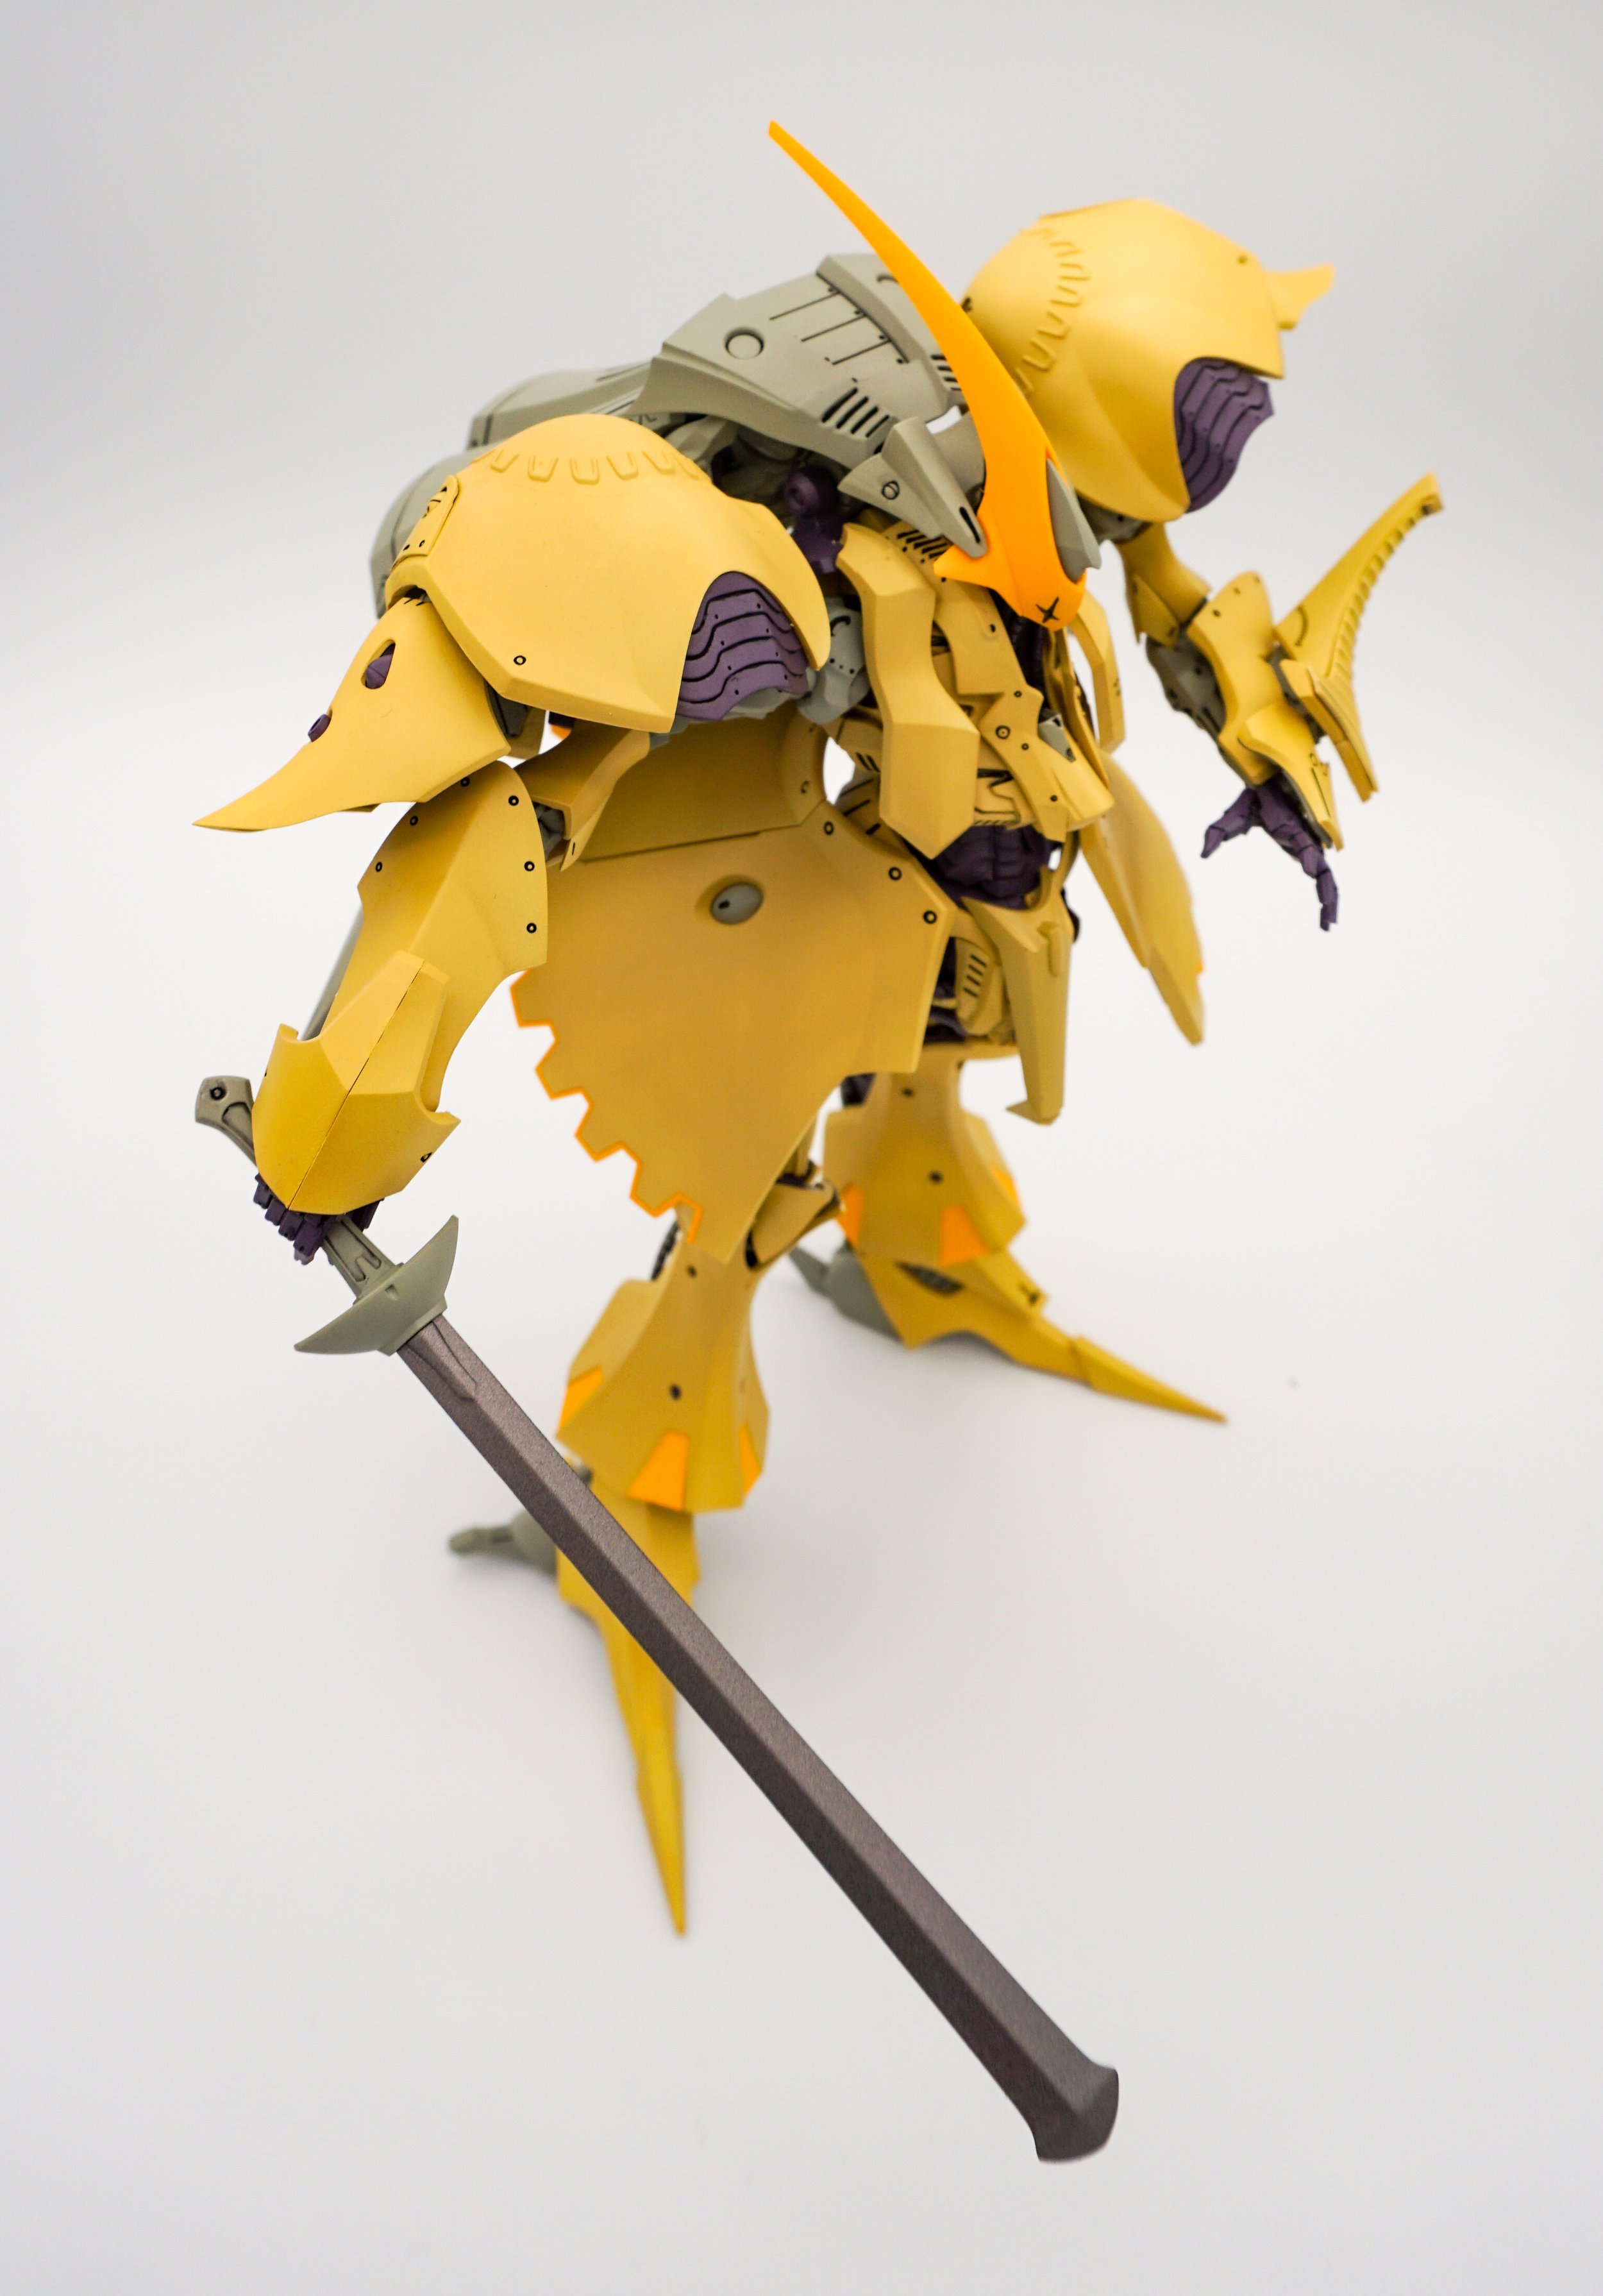
So my advice to anyone working on one of these IMS kits coming from Bandai or Gunpla. Don’t let the coloured plastic fool you... You won’t want to do a straight build for this. The colour varies too much from the cannon colours. These aren’t snap builds. They need a mixture of model cement and CA for these. There are pins and pegs, but they’re for alignment. Glue will still be required. I will also say that the Volks engineering is good, but not great. You should expect to need to fill quite a few gaps and seams. Particularly on the lower leg armour. They were terrible. A good strategy is to work through the manual and identify all the parts you can safely make, fill, and sand prior to painting. The kit is pretty poseable, not nearly as limber as some Gunpla kits I’ve seen. But hey, it’s 100% more poseable than a resin kit! Finally, there was little need for masking. Really, only the detail parts on the bottoms of the skirt armour were the sole singular parts that had multiple colours. Taping was straightforward.
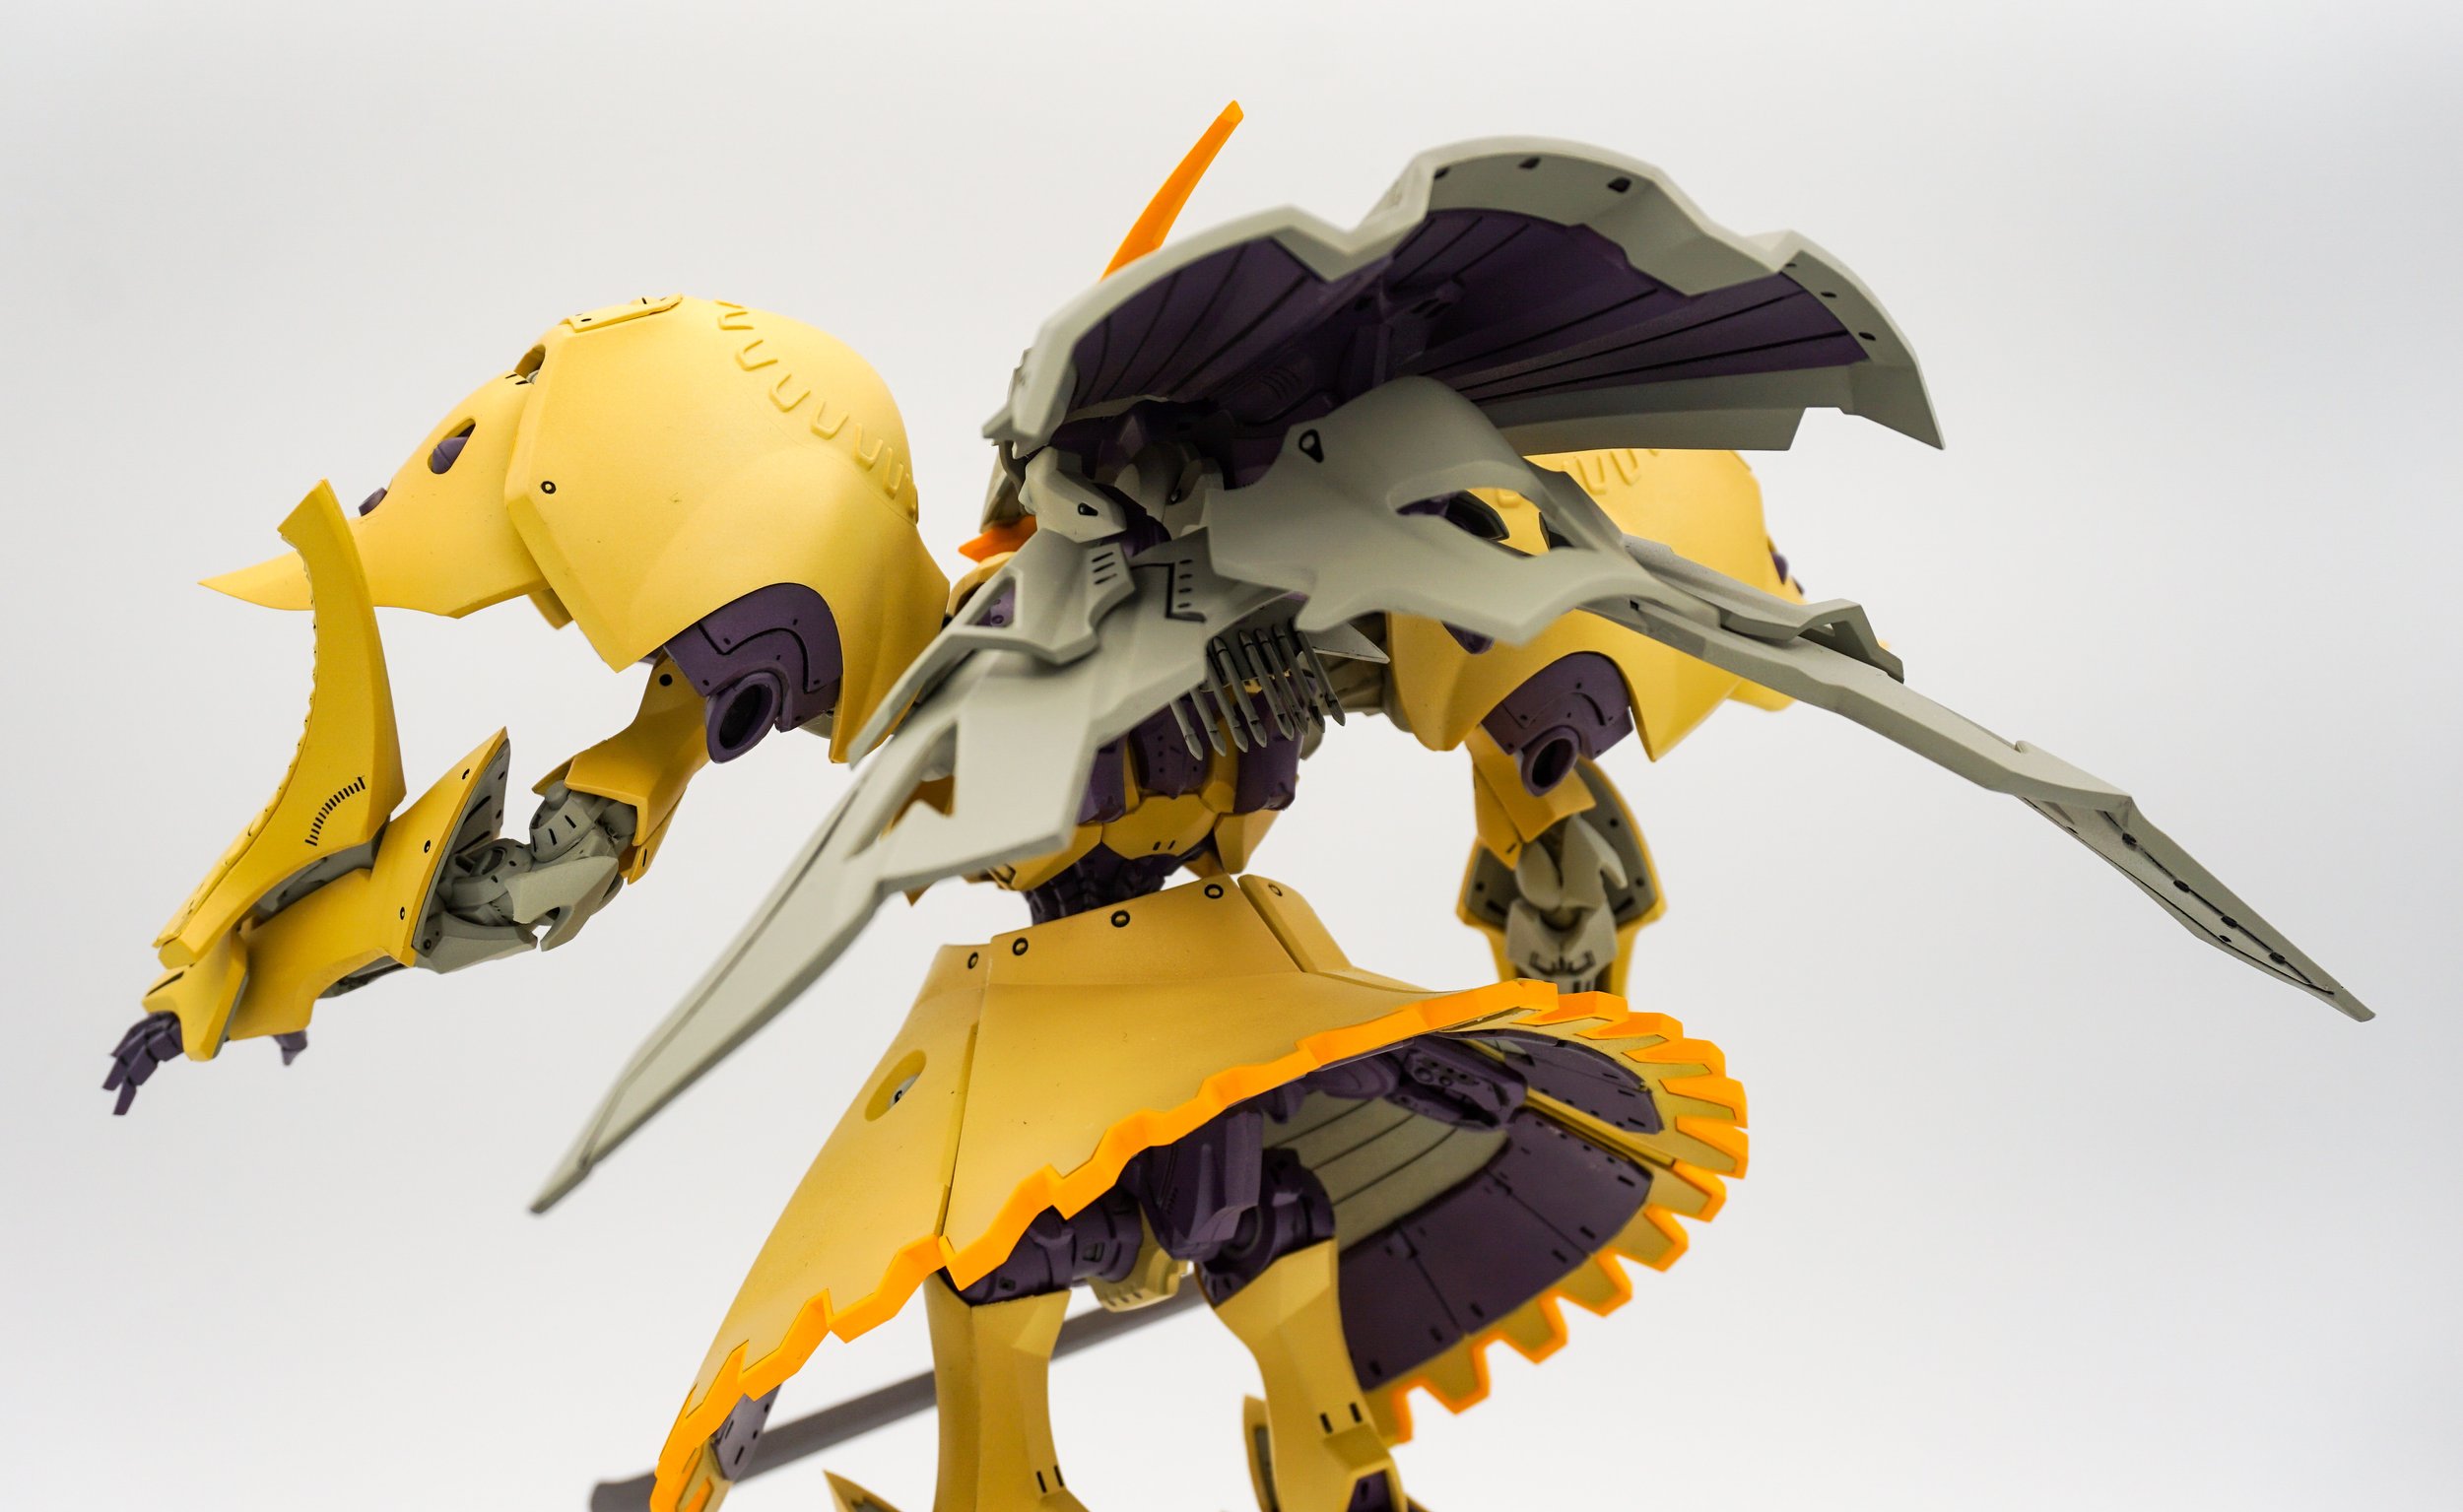
I painted entirely this piece using Mr Color Lacquers. Mr Surfacer primers, Grey for the Green/Grey Parts and Plum parts. Pink for the yellow parts. White for the sandy armour parts. The sword is Mr Metal Iron. Tamiya Black Panel Liner. It thinned the entire piece with Mr Color Rapid Thinner for a Matte appearance. No protective clear coats.
Super fun build. Highly recommended.